

















































Lychee Slicer: Optimize Your Smart Print Bio Resins
📊 Quick Technical Summary
Optimizing parameters in Lychee Slicer for Smart Print Bio Vitality resins is crucial for achieving high-quality and safe dental restorations, ensuring compliance with clinical requirements and high aesthetic and mechanical performance.
- Main Resin: Smart Print Bio Vitality
- Purpose: Definitive dental restorations
- Software: Lychee Slicer
- Application: Digital dentistry and 3D printing
Anyone working with digital dentistry knows that theory is one thing, and practice is another. It's no use having the best 3D printer and the most advanced resin if, when slicing the file, the configuration is not correct. It's frustrating to see a piece come out with flaws, or worse, to have to redo all the work due to a parameterization error. Time is money, and rework is a cost no one wants to incur, both in the clinic and in the dental laboratory. The assurance that the print will come out perfect on the first try is invaluable.
The Reality of Digital Configuration
The truth is that each 3D resin has its peculiarities. There is no magic formula that works for all. Adjusting exposure times, layer height, and how supports are generated makes all the difference between a successful print and one that goes straight to waste. It is a process that requires attention and specific knowledge, because the raw material is valuable and time, even more so. Failing at this point means compromising the schedule and, often, the credibility of the work delivered to the patient.
Many professionals find themselves lost in the various options of software like Lychee Slicer. What seems to be a technical detail, in fact, directly impacts the final quality of the restoration. Inadequate configuration can lead to fragile pieces, with poor finish, or that simply do not fit as they should. And the price is paid by the workflow, predictability and, ultimately, the patient who expects an impeccable result.
Resin Choice and Parameterization
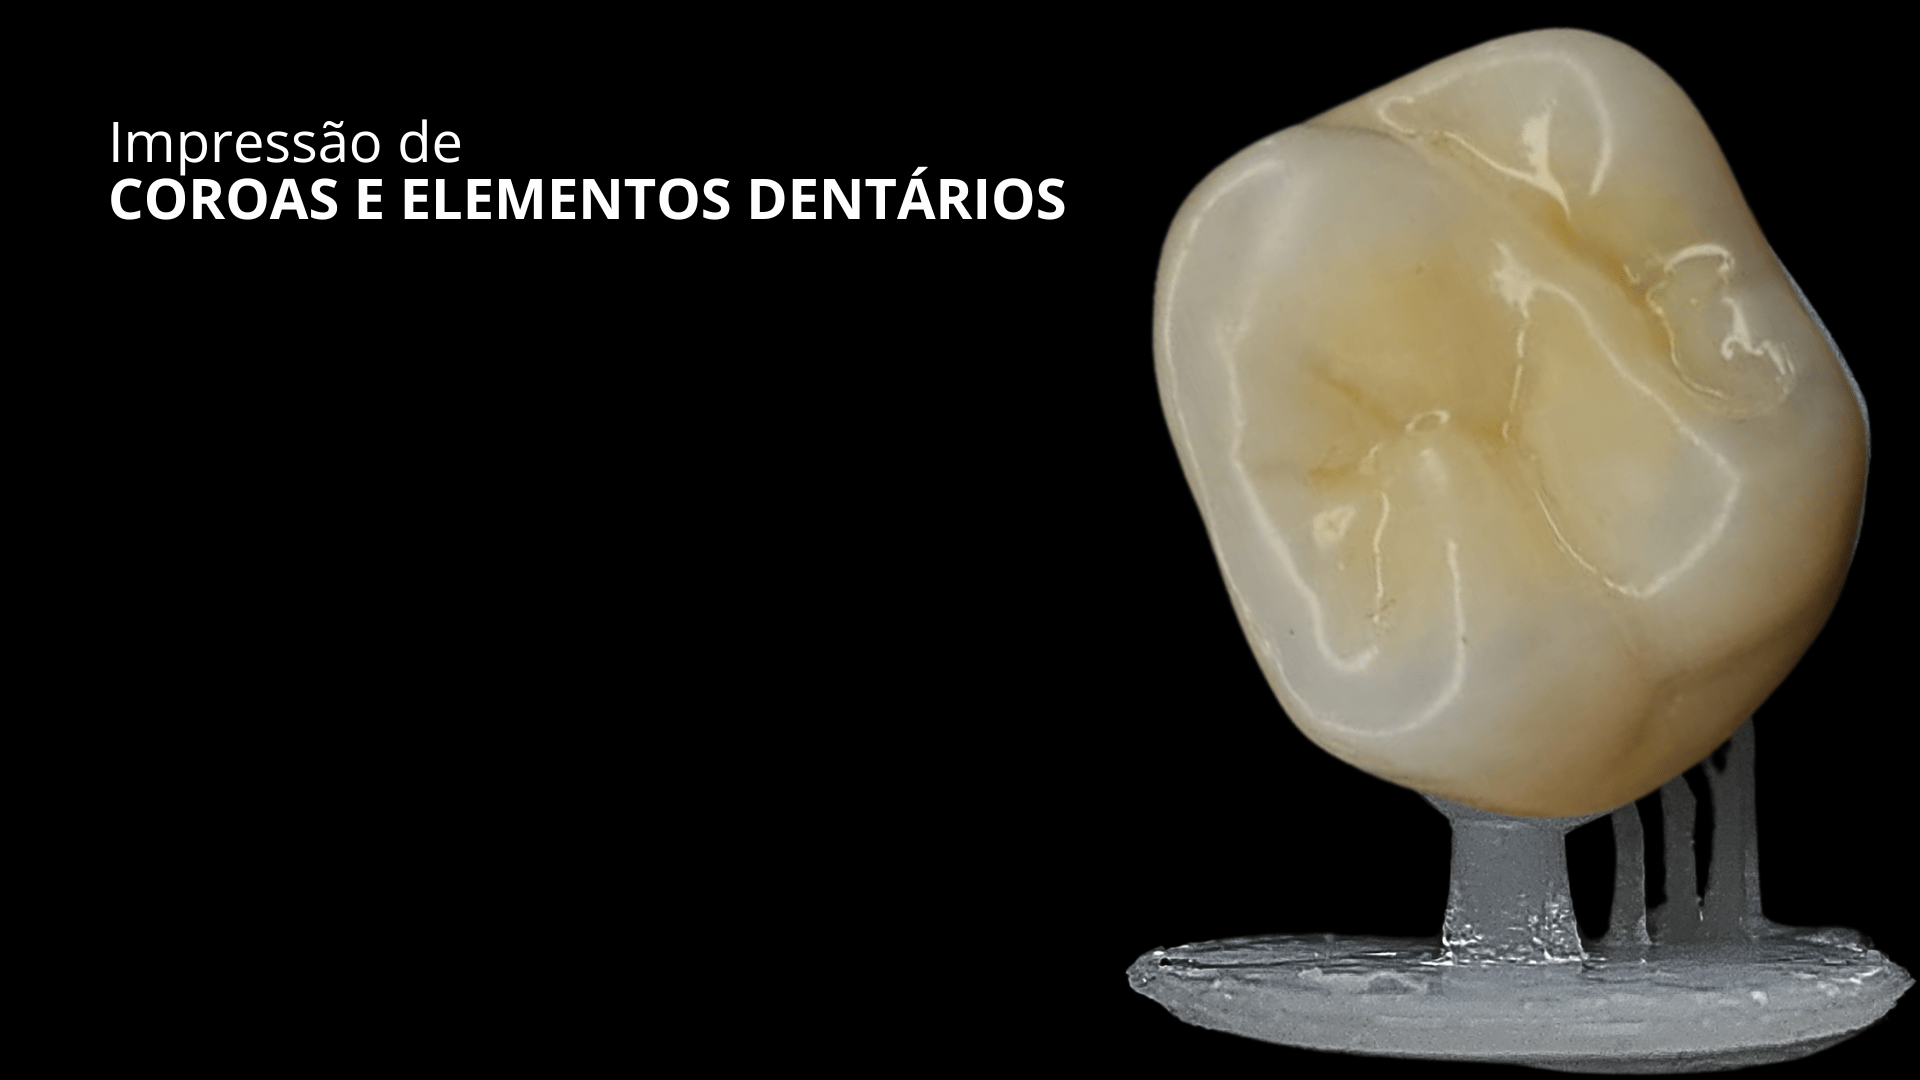
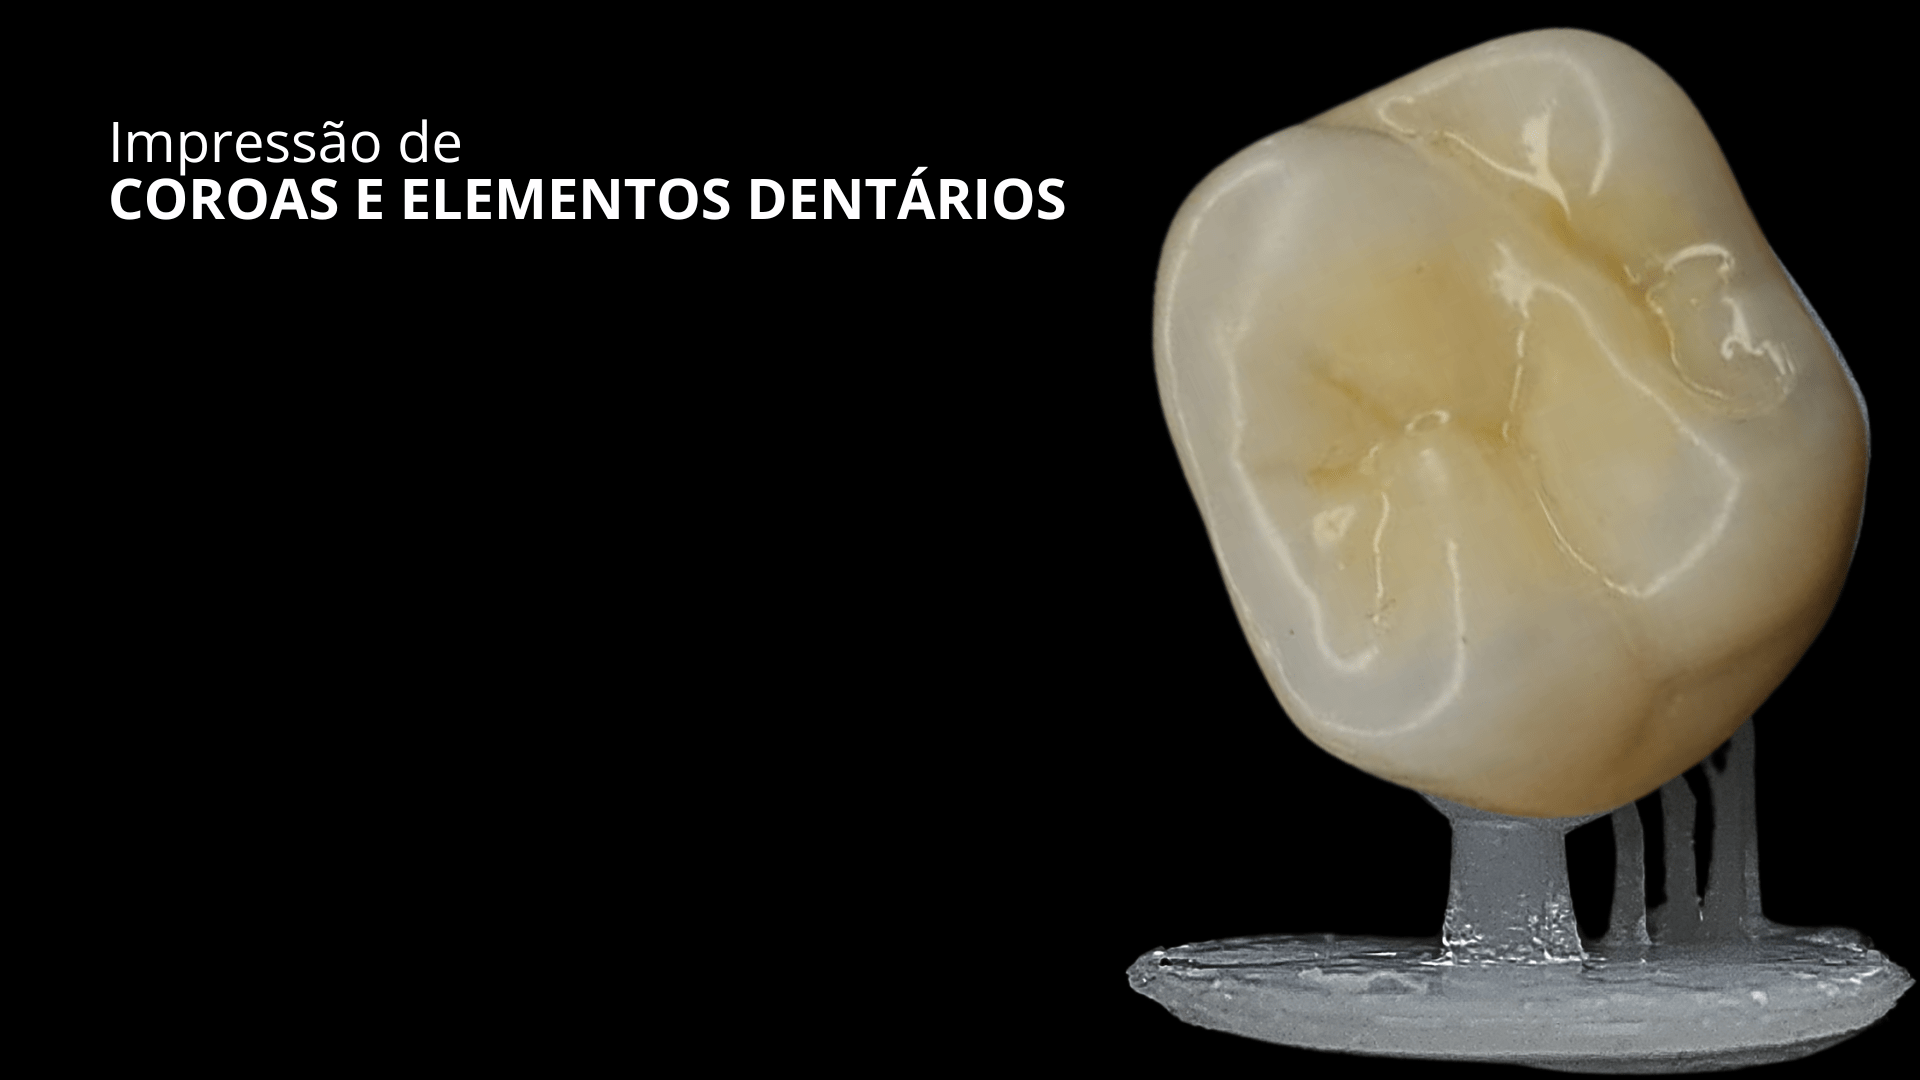
When working with high-performance resins, such as Smart Print Bio Vitality, parameterization becomes even more critical. This dental nano-hybrid resin, developed with advanced nanotechnology, is designed for long-lasting dental restorations. Its superior performance, proven biocompatibility, and optical stability are differentials that are only fully utilized when the 3D printing process is precisely configured. The choice between Vitality Classic and Vitality HT, for example, is a functional and optical decision, which must be accompanied by appropriate slicing.
Bio Vitality stands out for its advanced inorganic matrix, with a nano-hybrid blend of particles ranging from 0.7 μm to 5 nm. This ensures tenacity, fracture resistance, abrasion reduction, and surface smoothness, in addition to exceptional optical stability. The high-efficiency photoinitiator system for UV light (405 nm) allows precise curing by successive layers, avoiding common problems such as overcuring or failures between layers. But all this depends on the correct software configuration. That's why mastering parameterization is as essential as choosing the right resin.
🏆 Authority and Scientific Compliance
ISO 10993-1:2018 (Biocompatibility)
Bio Vitality has full attested biocompatibility for prolonged contact with oral mucosa, essential for permanent dental restorations.
ISO 4049 (Polymer-Based Restorative Materials)
Complies with international standards for restorative materials, ensuring quality and safety in the clinical use of the resin.
Characterization Data of Smart Print Bio Vitality
Tests performed by certified laboratories, validating the superior performance of the resin:
- Flexural strength: >140 MPa (according to internal data)
- Elastic modulus: >10 GPa (according to internal data)
- Particle load: 59% (wt%)
- Vitality Classic Translucency: 35%
- Vitality HT Translucency: 45%
📋 Essential Protocol: Parameterization of Smart Print Bio Vitality Resins in Lychee Slicer
This protocol details the crucial steps to optimize your settings in Lychee Slicer, ensuring maximum performance of Smart Print Bio Vitality resin in your 3D prints for definitive dental restorations.
Required Materials and Equipment:
- Lychee Slicer software (updated version)
- Smart Print Bio Vitality 3D Resin (Classic or HT, as clinically indicated)
- Compatible dental 3D printer (405 nm)
- UV post-curing unit (Asiga Cure or ShapeCure D)
- Isopropyl alcohol (IPA) 99%
Step-by-Step Procedure:
-
Step 1: Selection of Printer and Resin Profile
In Lychee Slicer, select your 3D printer and then load the Smart Print Bio Vitality resin profile corresponding to your type (Classic or HT). If an exact profile does not exist, use the closest one and adjust the parameters manually.
-
Step 2: Definition of Layer Height
For definitive dental restorations, use a layer height of 50 μm for greater fidelity and detail. For study models or temporaries, 100 μm may be sufficient, optimizing 3D printing time.
-
Step 3: Exposure Time Adjustment
This is the most critical parameter. For Smart Print Bio Vitality on 405 nm printers, start with 2.0 to 2.5 seconds per layer for 50 μm. Adjust in 0.1s increments until optimal curing is achieved (without distortion or flaws). The bottom exposure time should be 20 to 30 seconds to ensure adhesion.
-
Step 4: Support Configuration
Use thin to medium supports, with sufficient density to stabilize the part, especially in critical areas such as margins and contact points. The contact distance should be 0.15 to 0.2 mm. Reduce the tip of the supports to facilitate removal and minimize marks.
-
Step 5: Retract and Lift Speed
Maintain moderate speeds, between 60 and 80 mm/min, to avoid tension and delamination during the 3D printing process. Very high speeds can cause failures in the printed part.
-
Step 6: Slice and Verify
After configuring all parameters, slice the model and use the visualization tool to check for unsupported islands, support failures, or uncured areas. Adjust supports as needed.
-
Step 7: UV Post-Curing
After 3D printing and washing in 99% IPA (2 cycles of 3 minutes), perform UV post-curing in a professional post-curing unit. For Smart Print Bio Vitality, the recommended time is 10 to 20 minutes, depending on the equipment's power and the part's thickness.
⚠️ Points of Attention:
- Always shake the resin before use to ensure homogeneity.
- Monitor ambient temperature, as variations can affect the resin's viscosity and exposure time.
- Perform calibration tests periodically to ensure the accuracy of the printer and parameters.
✅ Conclusion: Clarity and Security in Digital Dentistry
Optimizing parameterization in Lychee Slicer for Smart Print Bio Vitality resins is not just a technical detail, but a pillar for the security and predictability of the digital dentistry workflow. As professionals, we seek excellence and the certainty that every dental restoration delivered to the patient will have the expected quality. This technical mastery eliminates uncertainties and the need for rework, consolidating a more efficient and profitable clinical practice.
It's clarity, it's security in investment and predictable financial return.
💡 Protect Your Clinical Reputation
Use certified materials and follow protocols validated by specialists. Invest in quality digital dentistry and master the tools that elevate the standard of your work.