













































Exocad DentalCAD: Precision in Surgical Guide Planning for Totally Edentulous Patients
📊 Quick Technical Summary
Surgical guide planning with Exocad DentalCAD for totally edentulous patients optimizes surgical predictability through the double CT scan technique, ensuring precise implant positioning and guide stability.
- Workflow: Digital, software-assisted
- Essential Technique: Double CT scan (denture with markers + isolated denture)
- Tool: Exocad DentalCAD implant planning module
- Application: Guided surgery for rehabilitation of totally edentulous patients
The clinical and laboratory routine is full of challenges that demand precision. Imagine starting an implant protocol for a totally edentulous patient, where the margin for error is minimal and the safety of the outcome is paramount. The need for perfect alignment, the concern with rework, and the search for a cost-benefit that truly translates into predictability are constant. No one wants to invest time and resources in planning that does not offer the necessary security, or worse, that results in an unstable or imprecise surgical guide.
The insecurity regarding implant positioning and the difficulty in ensuring the exact fit of the surgical guide are silent pains. The pressure of deadlines and the search for a workflow that optimizes each step, from diagnosis to final fabrication, are undeniable realities. A solution is needed that brings clarity and reliability, transforming a complex process into something more direct and secure.
Understanding the Reality of Implant Planning
Every professional knows that good planning is the basis for the success of any procedure. In the case of totally edentulous patients, the complexity increases. The absence of dental references requires a methodology that compensates for this gap, and it is at this point that the double CT scan technique proves indispensable. It is a truth that, without correct information, any planning becomes a risk. The precision of the alignment between the existing prosthesis and the bone structure is the foundation for a functional surgical guide.
Data collection is the first critical step. The CT scan of the denture with hyperdense markers and the isolated CT scan of the denture, although they seem like a detail, are crucial. It is a process that, when well executed, eliminates much of the uncertainty. Knowing that the denture is well adapted to the patient's mucosa is fundamental. A poorly adapted denture at the time of the CT scan means an incorrect surgical guide, and this, unfortunately, is an error that propagates throughout the workflow.
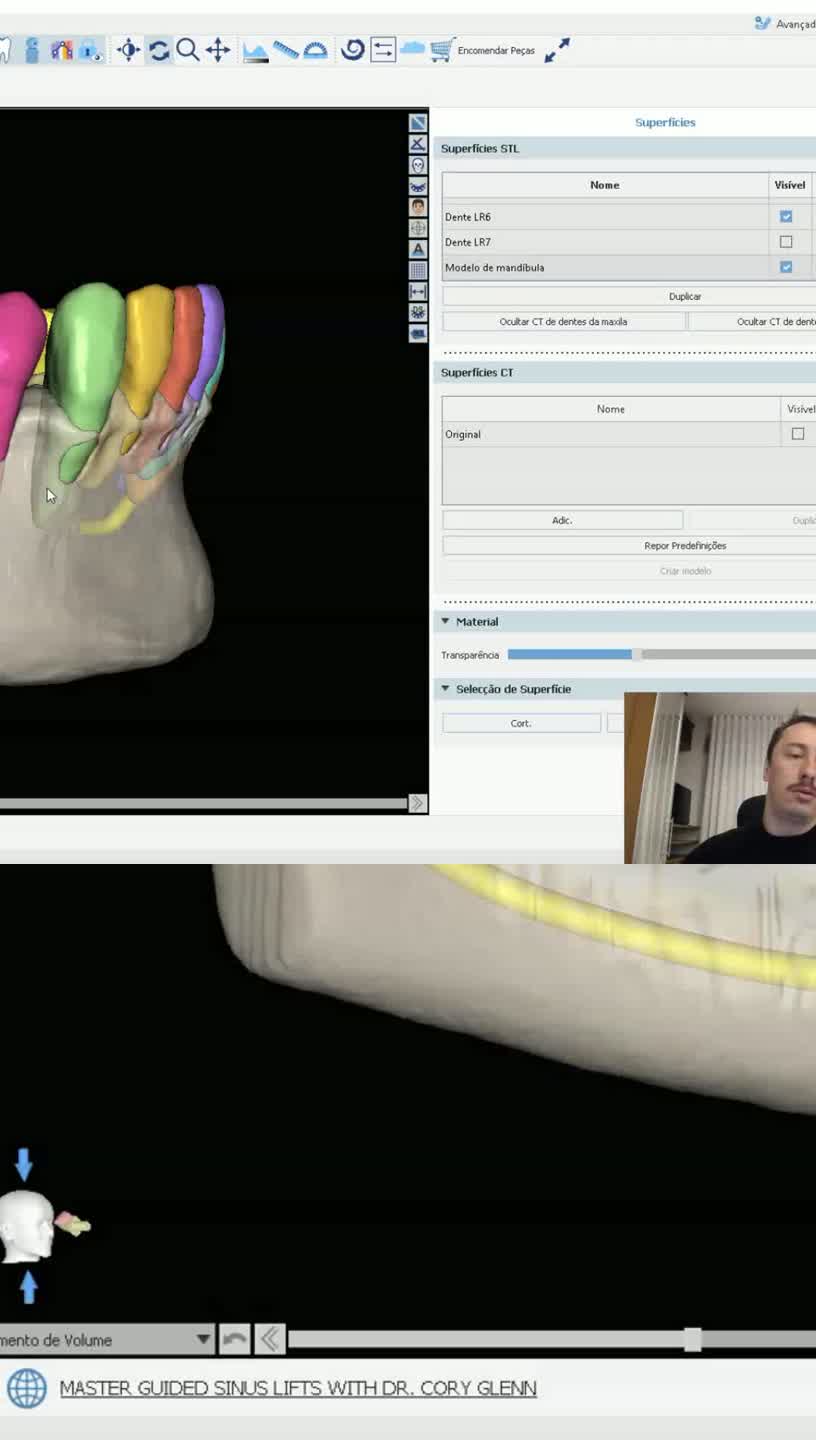
The segmentation and alignment stage in the software is where the magic happens. The definition of the panoramic curve, the adjustment of densities to visualize the denture without perforations, all directly impact the quality of the planning. It is a meticulous job that requires attention, but which, in the end, pays off with the security of a predictable result. The software offers an assistant mode, guiding the professional step by step, ensuring that no important step is neglected. This is fundamental for those seeking to optimize time and reduce the chances of error.
The Logic Behind Exocad DentalCAD in the Digital Workflow
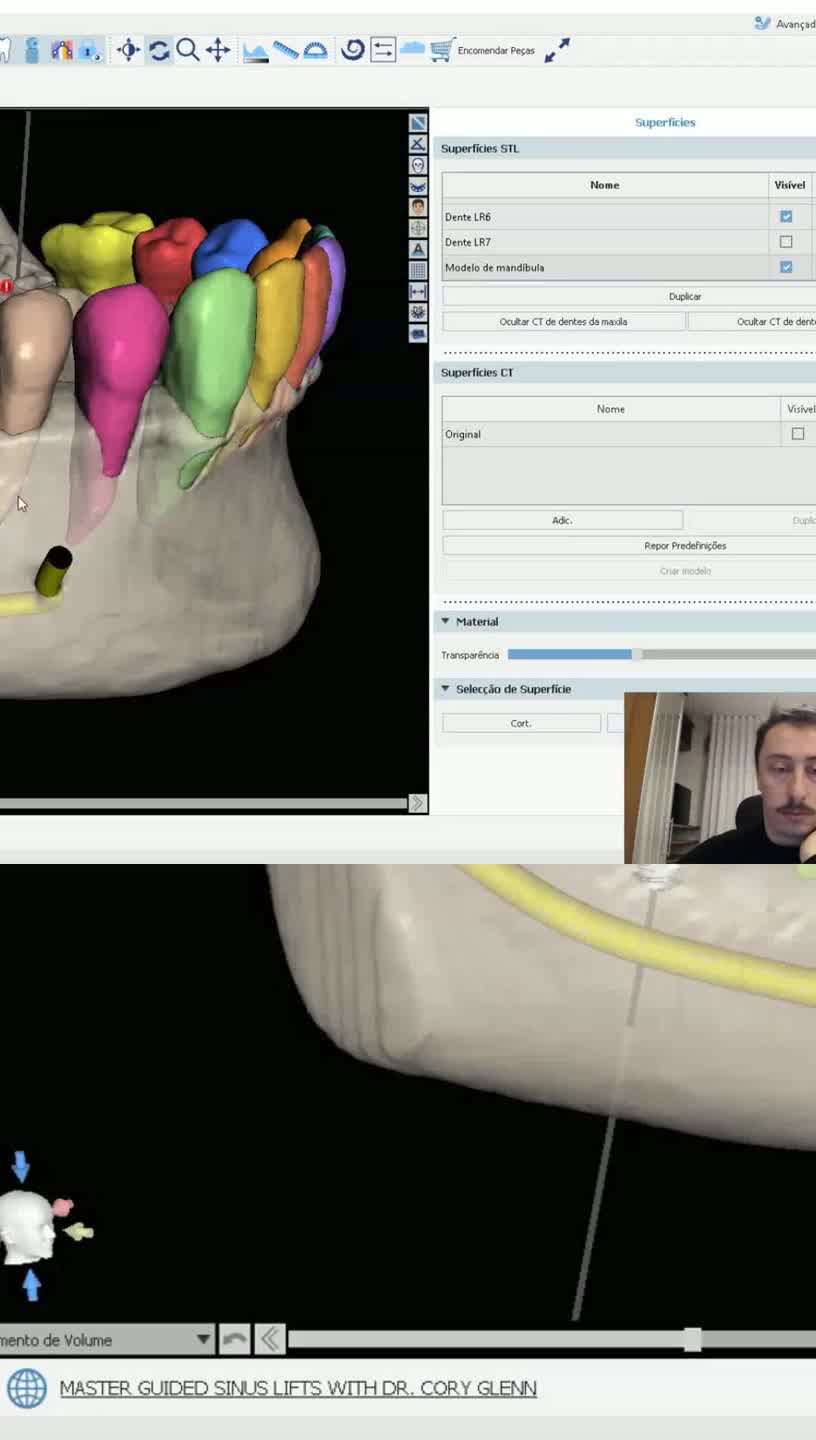
Exocad DentalCAD, with its implant planning module, emerges as a tool that fits perfectly into this scenario. It does not promise miracles, but it offers a logical and structured path to deal with the complexities of planning surgical guides for edentulous patients. The ability to import CT scans, perform precise alignment, and visualize implant positioning in relation to anatomical structures and the patient's prosthesis, all in a digital environment, is an advance that many already recognize as essential in digital dentistry.
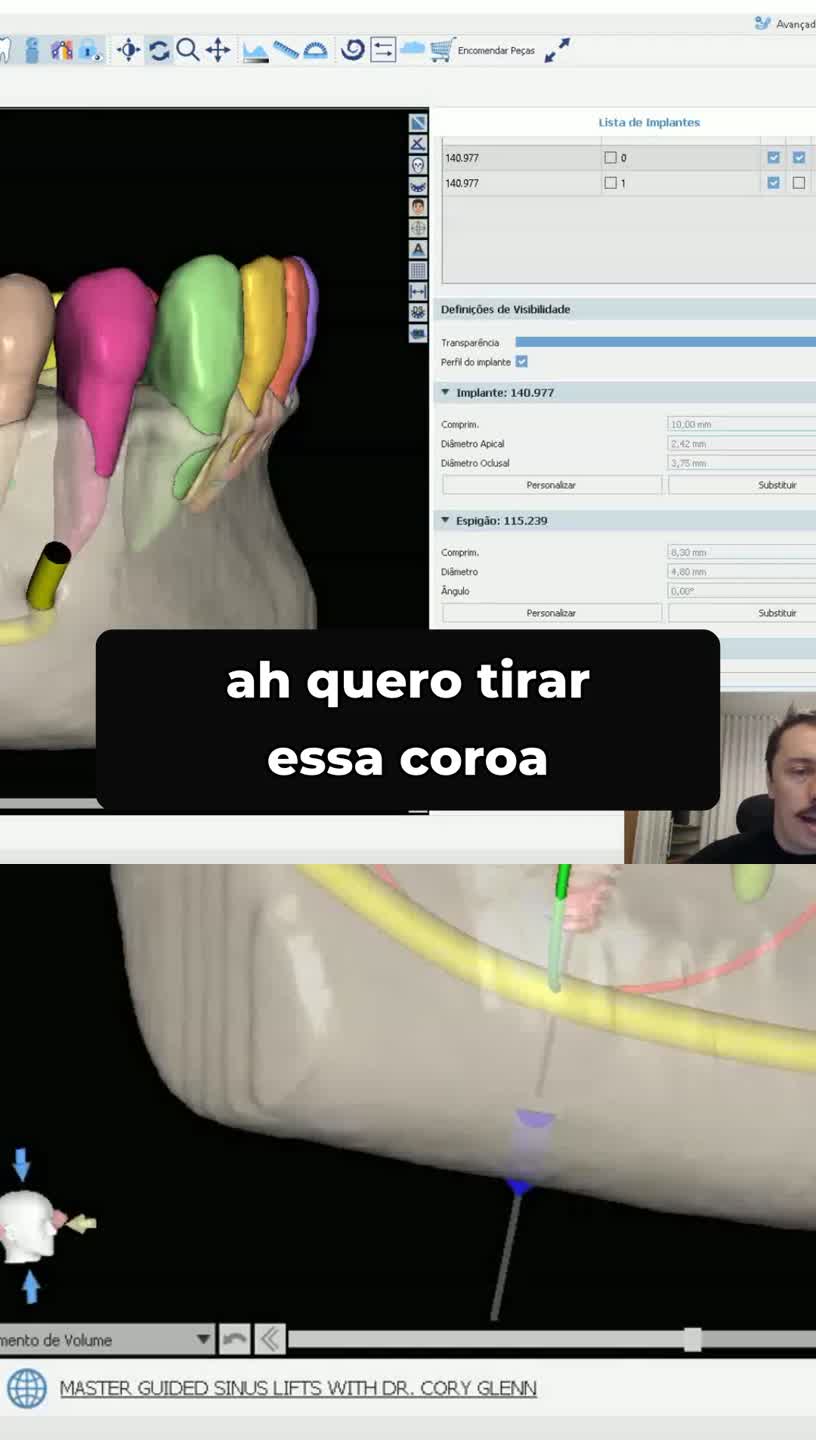
The possibility of planning the angulation and depth of implants, adjusting safety distances in relation to structures such as the maxillary sinus, and defining the emergence of prostheses is a reality that directly impacts the predictability of the case. Furthermore, the insertion of fixation pins to ensure the stability of the surgical guide in the mouth is a functionality that meets a real and practical need. It is clarity, it is security in investment and predictable financial return.
📋 Surgical Guide Planning Protocol with Exocad DentalCAD
Step-by-step guide for planning surgical guides in totally edentulous patients using Exocad DentalCAD software.
Required Materials and Equipment:
- Exocad DentalCAD software (implant planning module)
- Computed Tomography of the denture with hyperdense markers
- Computed Tomography of the isolated denture
- Patient's full denture with markers (gutta-percha, composite resin)
Step-by-Step Procedure:
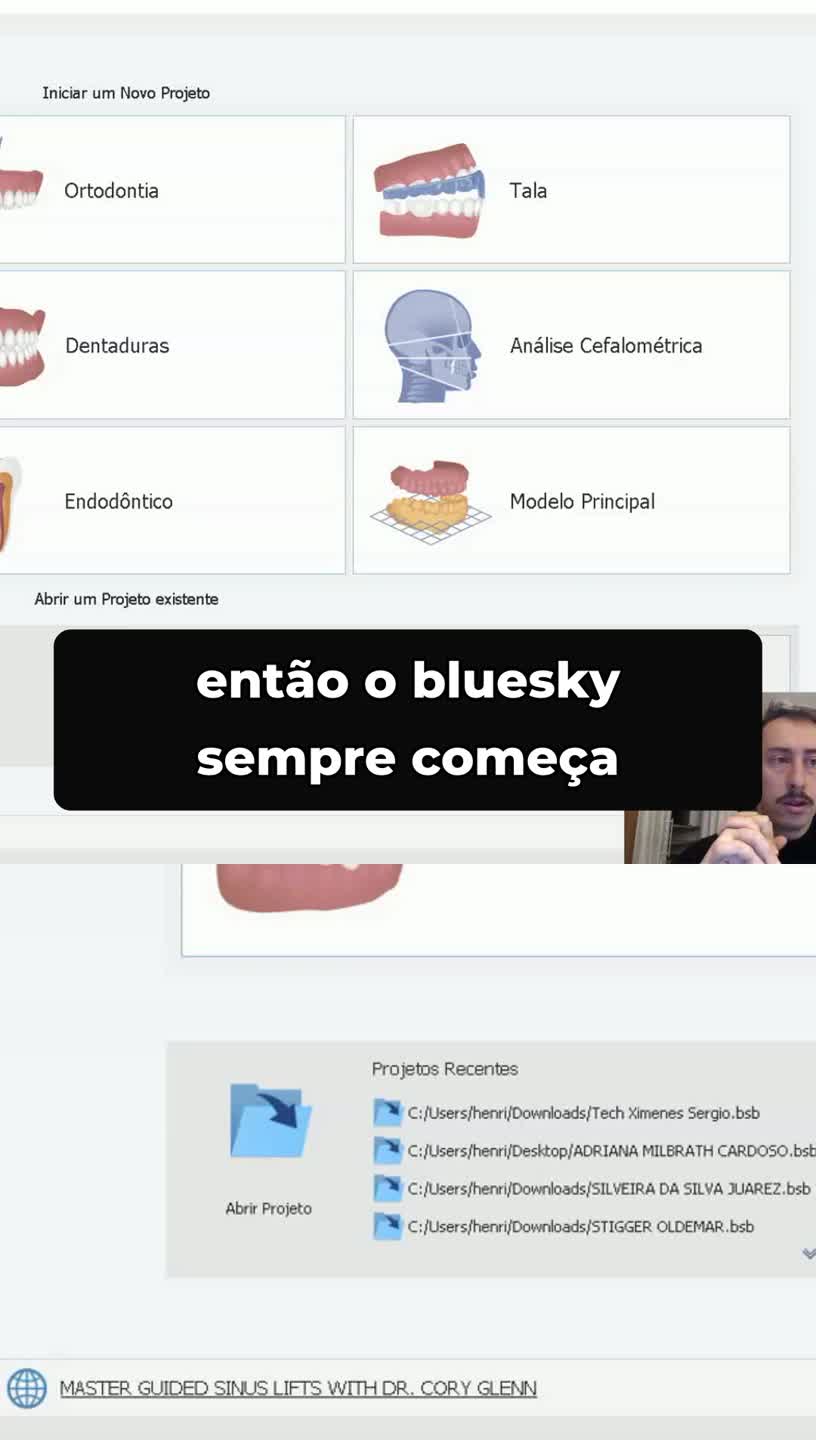
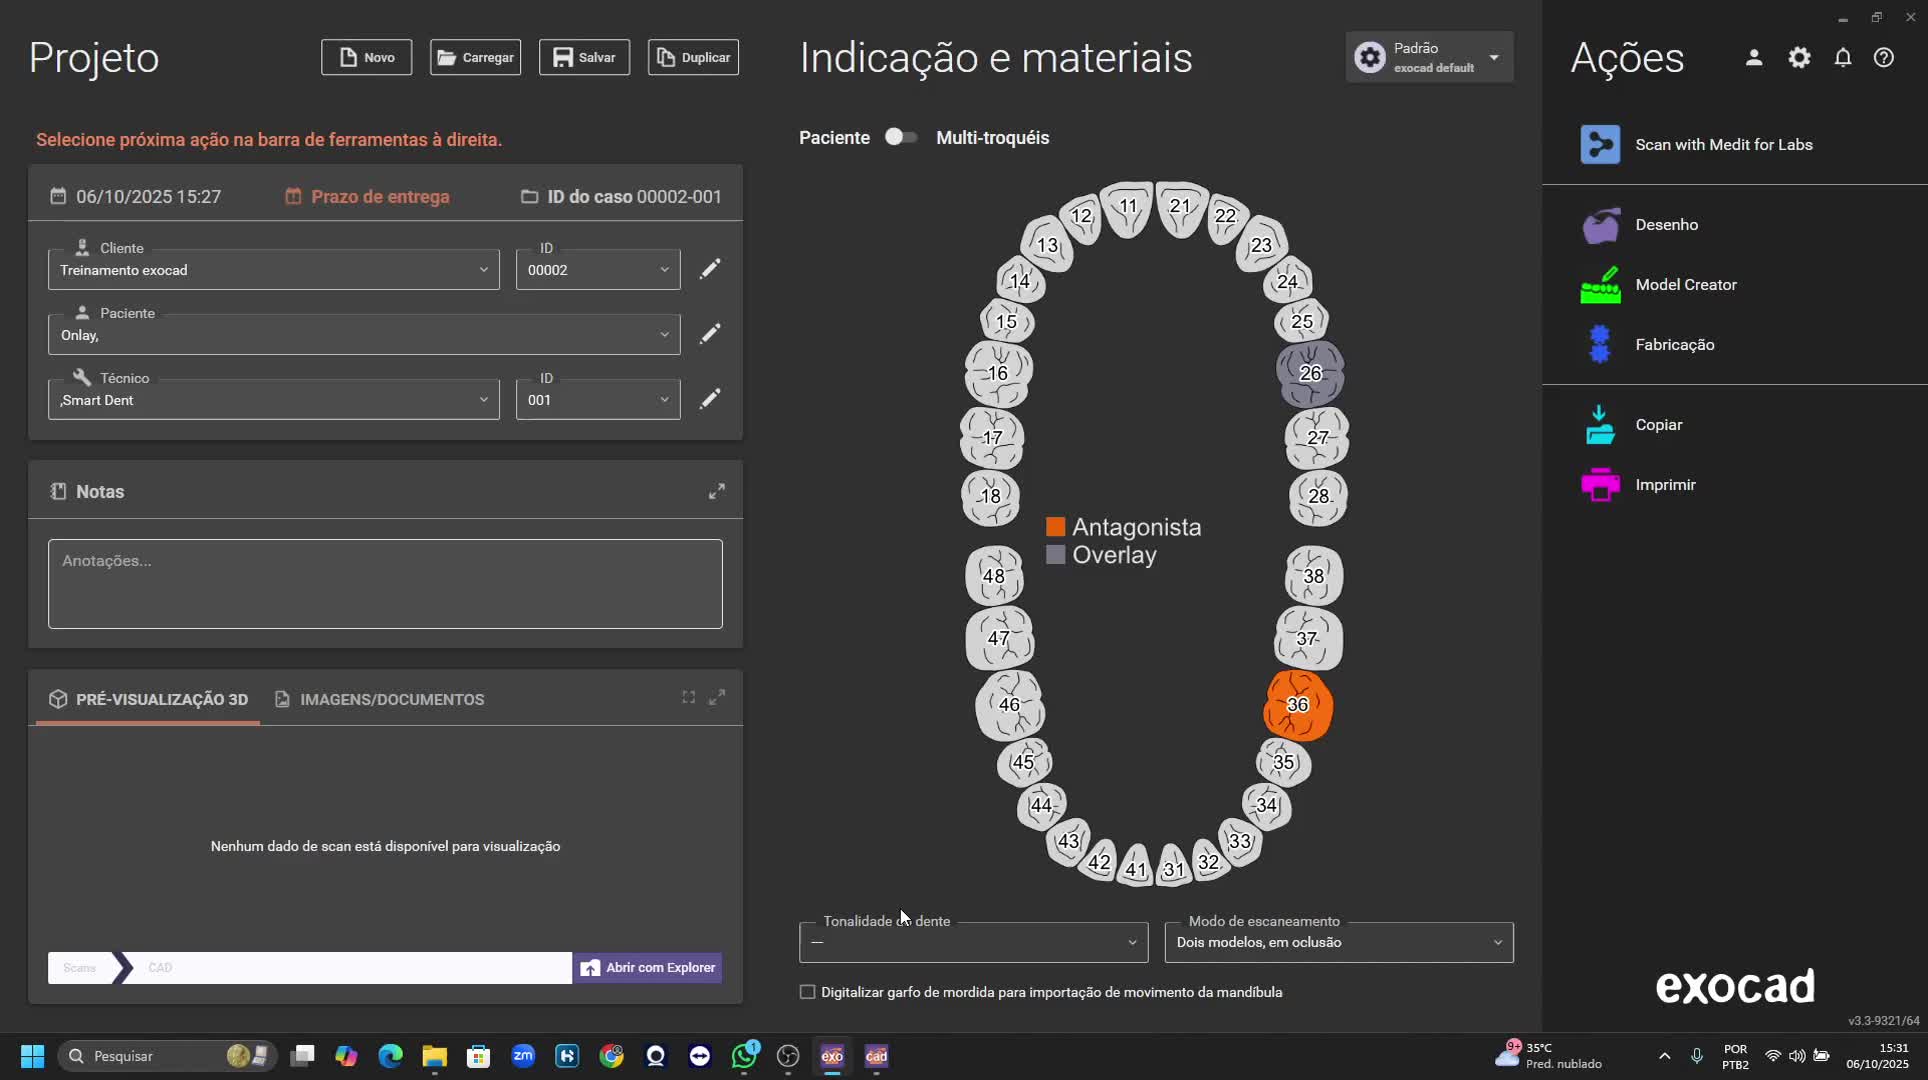
- Step 1: Start Project and Select Implants In Exocad DentalCAD, enter the patient's name (e.g., "Smart Test" or "Smart Class"). Define the desired implant positions (e.g., 16, 26, 12, 22), selecting the implant planning option. Save and proceed to the implant planning tab.
- Step 2: Load CT Scans Import the patient's CT scan using the denture with hyperdense markers. Then, import the CT scan of only the isolated denture. Ensure that the double CT scan was performed correctly (denture with markers in the patient's mouth and isolated denture on a support).
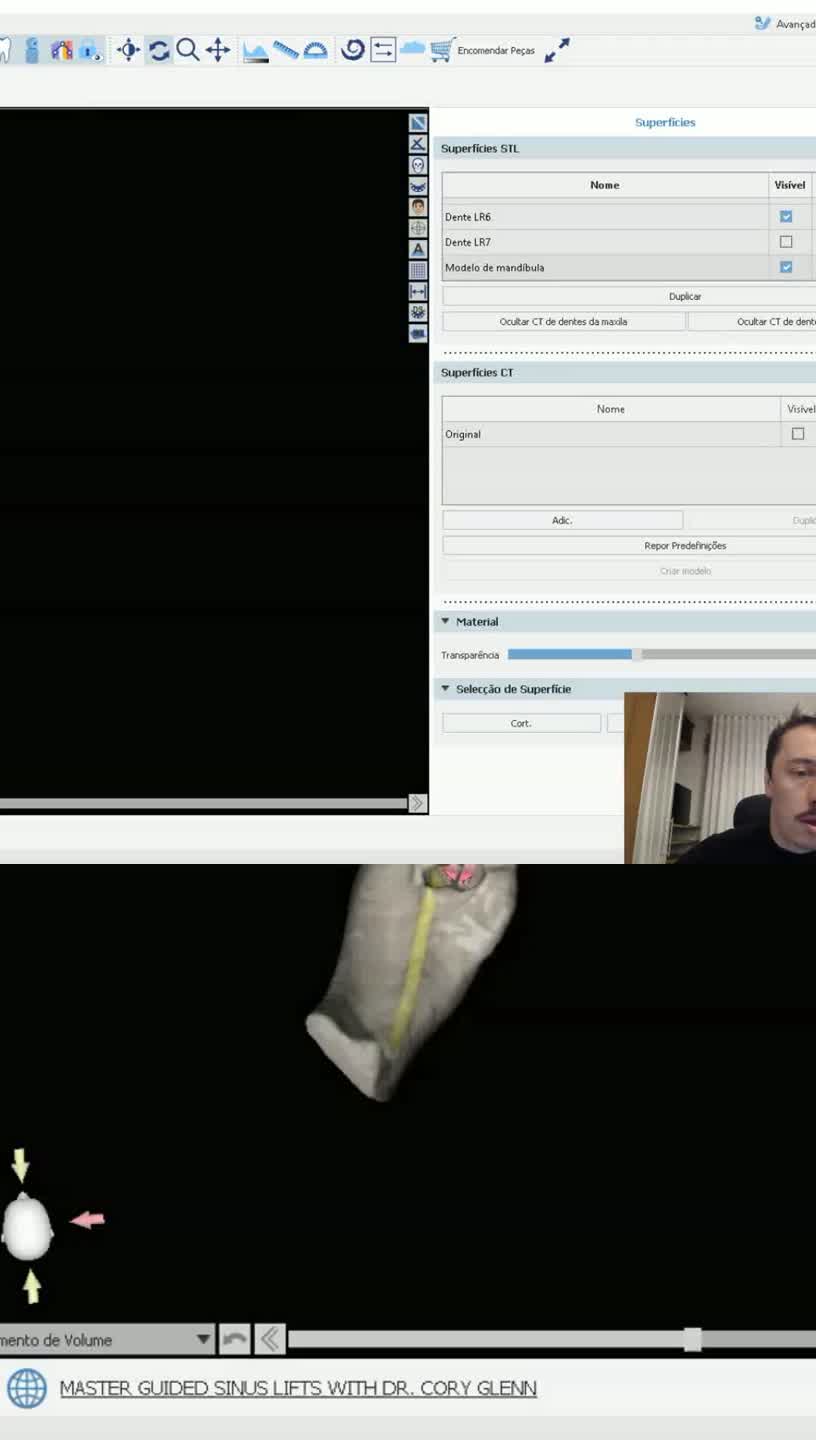
- Step 3: Define Panoramic Curve Adjust the panoramic curve in the software. Exocad DentalCAD usually performs a pre-alignment, facilitating fine adjustment.
- Step 4: Denture Alignment Select the alignment option with the denture CT scan. Adjust the denture density until there are no perforations and the image is clear. The software will perform a pre-alignment based on the markers. Verify the alignment by observing the green line around the denture to ensure a precise fit to the mucosa.
- Step 5: Ignore Sinus Segmentation (Optional) Skip the sinus segmentation step if you want greater freedom to position the implants in relation to the maxillary sinus, allowing the insertion of threads into the sinus.
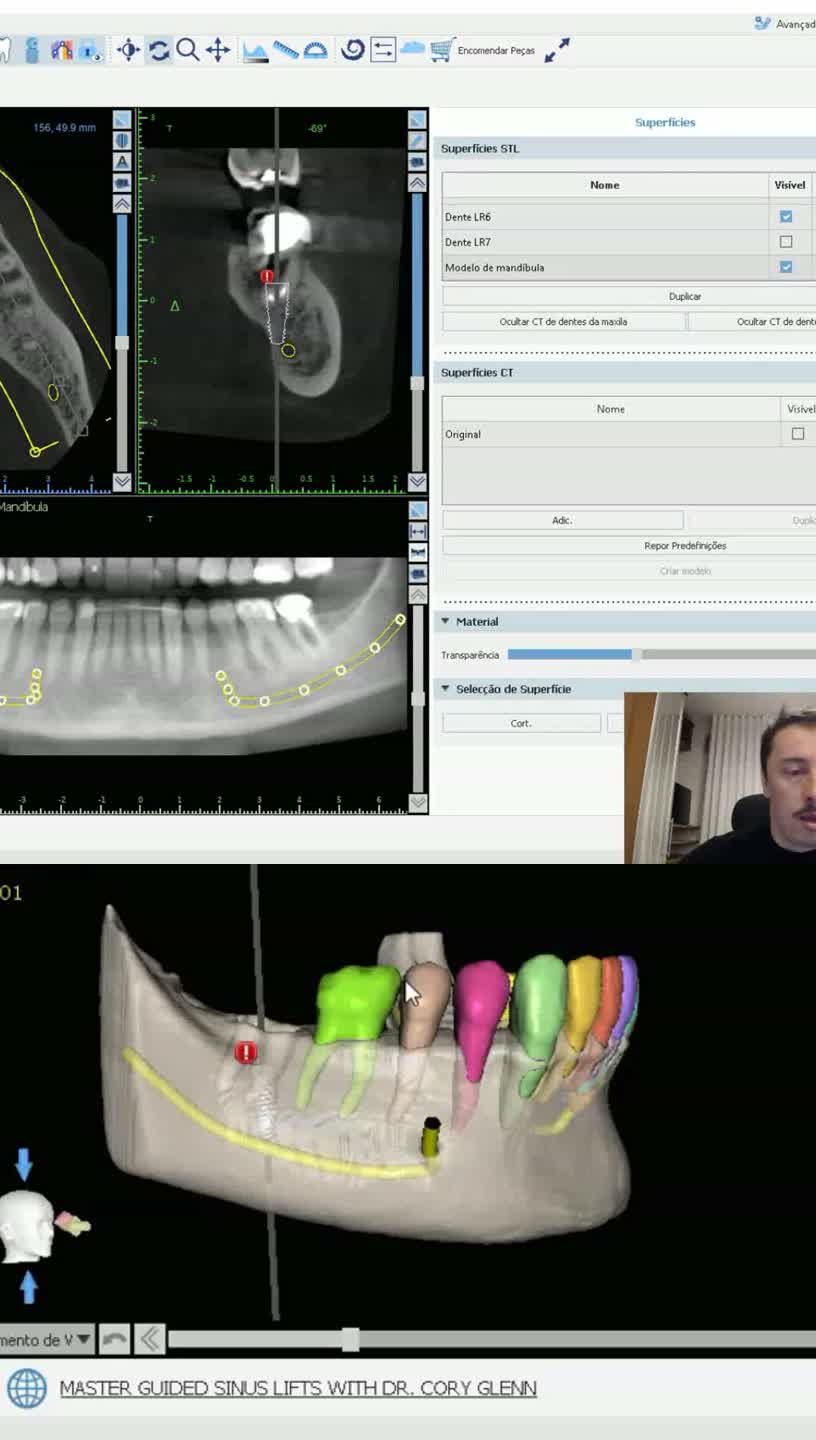
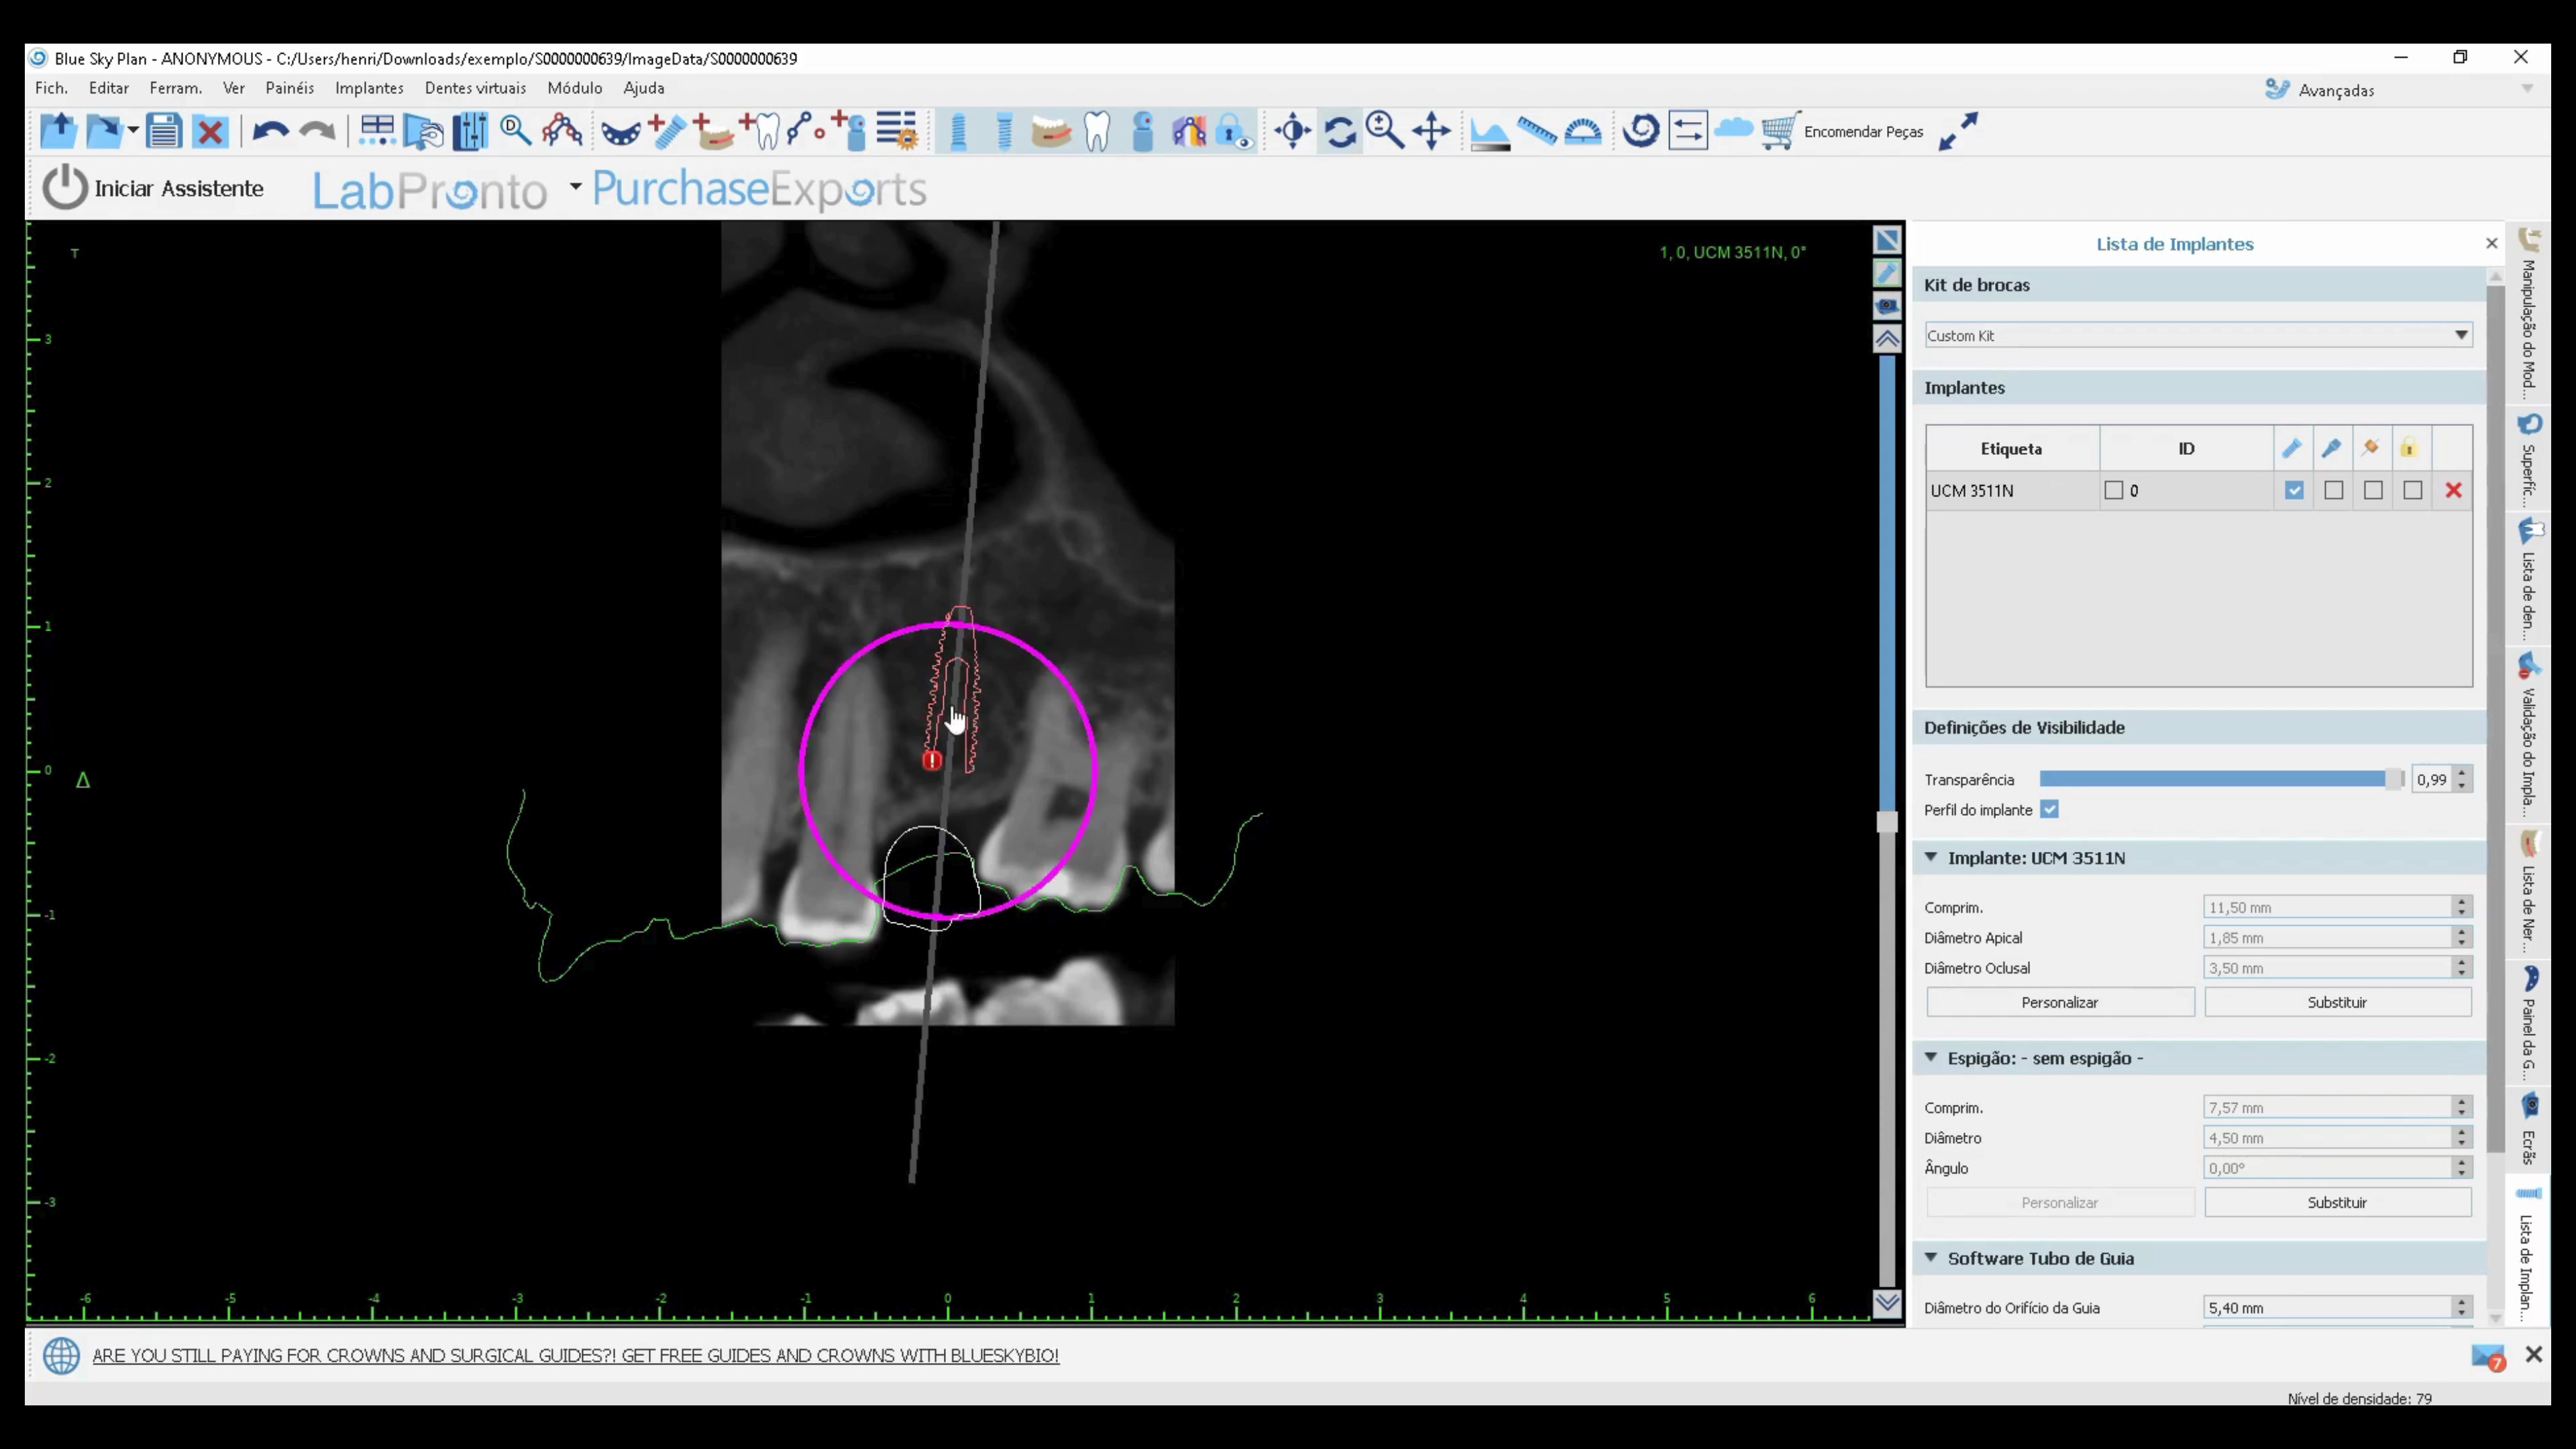
- Step 6: Implant Planning Select the implant type and dimensions (e.g., Neodent Helix Aqua, 3.5x10). Position the implant, tangential to anatomical structures such as the maxillary sinus and nasal fossa. Adjust the safety distance (e.g., 2.0 mm) and position the implant with a palatal approach for protocols, preserving the buccal. Plan fixation pins (minimum 3) for guide stability, preferably in the anterior regions and between implants. Adjust the safety distance of the pins (e.g., 0.1 mm) to avoid collisions with the implants.
- Step 7: Surgical Guide Design After planning approval, proceed to surgical guide design. Select the option to design the guide using the patient's denture. Delimit the internal area of the denture that will contact the mucosa (peripheral seal).
- Step 8: Adjust Guide Parameters Define the radial movement of the sleeve (e.g., 0.1 mm for printers like Elgoo Mars 5 and Smart resins), and of the anchoring pins (e.g., 0.1 mm). Consider the compatibility of the sleeve with the implant brand.
- Step 9: Add Inspection Window (Optional) Insert an inspection window (e.g., 7 mm) in the guide to check its adaptation to the mucosa during surgery.
- Step 10: Solidify and Finalize the Guide Solidify the guide design. Perform modeling to smooth out tips or imperfections. The software generates PDF reports with the position and dimensions of the implants, and the type of sleeve used. Save the guide file for 3D printing.
⚠️ Points of Attention:
- Double CT scan with hyperdense markers (gutta-percha or composite resin) is essential for correct alignment.
- The patient's denture must be well adapted to the mucosa to avoid maladaptation of the final guide.
- Adjusting the denture density in the software to visualize without perforations is crucial.
- Checking the green adaptation line of the denture in the software ensures precise contact with the mucosa.
- Adjusting safety distances for implants and fixation pins avoids collisions and unwanted invasions.
Conscious Decision and Professionalism
Choosing a digital workflow for surgical guide fabrication is not about following a trend, but about adopting a methodology that adds value. Predictability, risk reduction, and time optimization are direct results of well-executed planning. The ability to present the patient with a visual and detailed plan even before the surgical procedure reinforces confidence and security. It is the certainty that each step has been thought through and reviewed, minimizing unwanted surprises.
In the end, the surgical guide, precisely printed from the digital design, becomes the materialization of this security. It is not just a piece, but the realization of careful planning, which considers every anatomical and prosthetic detail. This allows the professional to perform the surgery with the confidence that the implants will be positioned exactly where they were planned. This is how digital dentistry transforms practice, offering not promises, but consistent results and satisfied professionals. Best regards and happy studies!
About the author
Equipe Smart Dent
Odontologia Digital
Spin-off universitária da EESC/USP São Carlos fundada em 2009 por Dr. Marcelo Del Guerra (PhD Eng./USP, FAPESP ID 1694) e Marcelo Cestari (1.343 citações Google Scholar) no NUMA/USP. Pioneira em resinas 3D odontológicas no Brasil e nos EUA. FDA Classe II nº 3027526455 · ANVISA. Wikidata: Q139535514.