



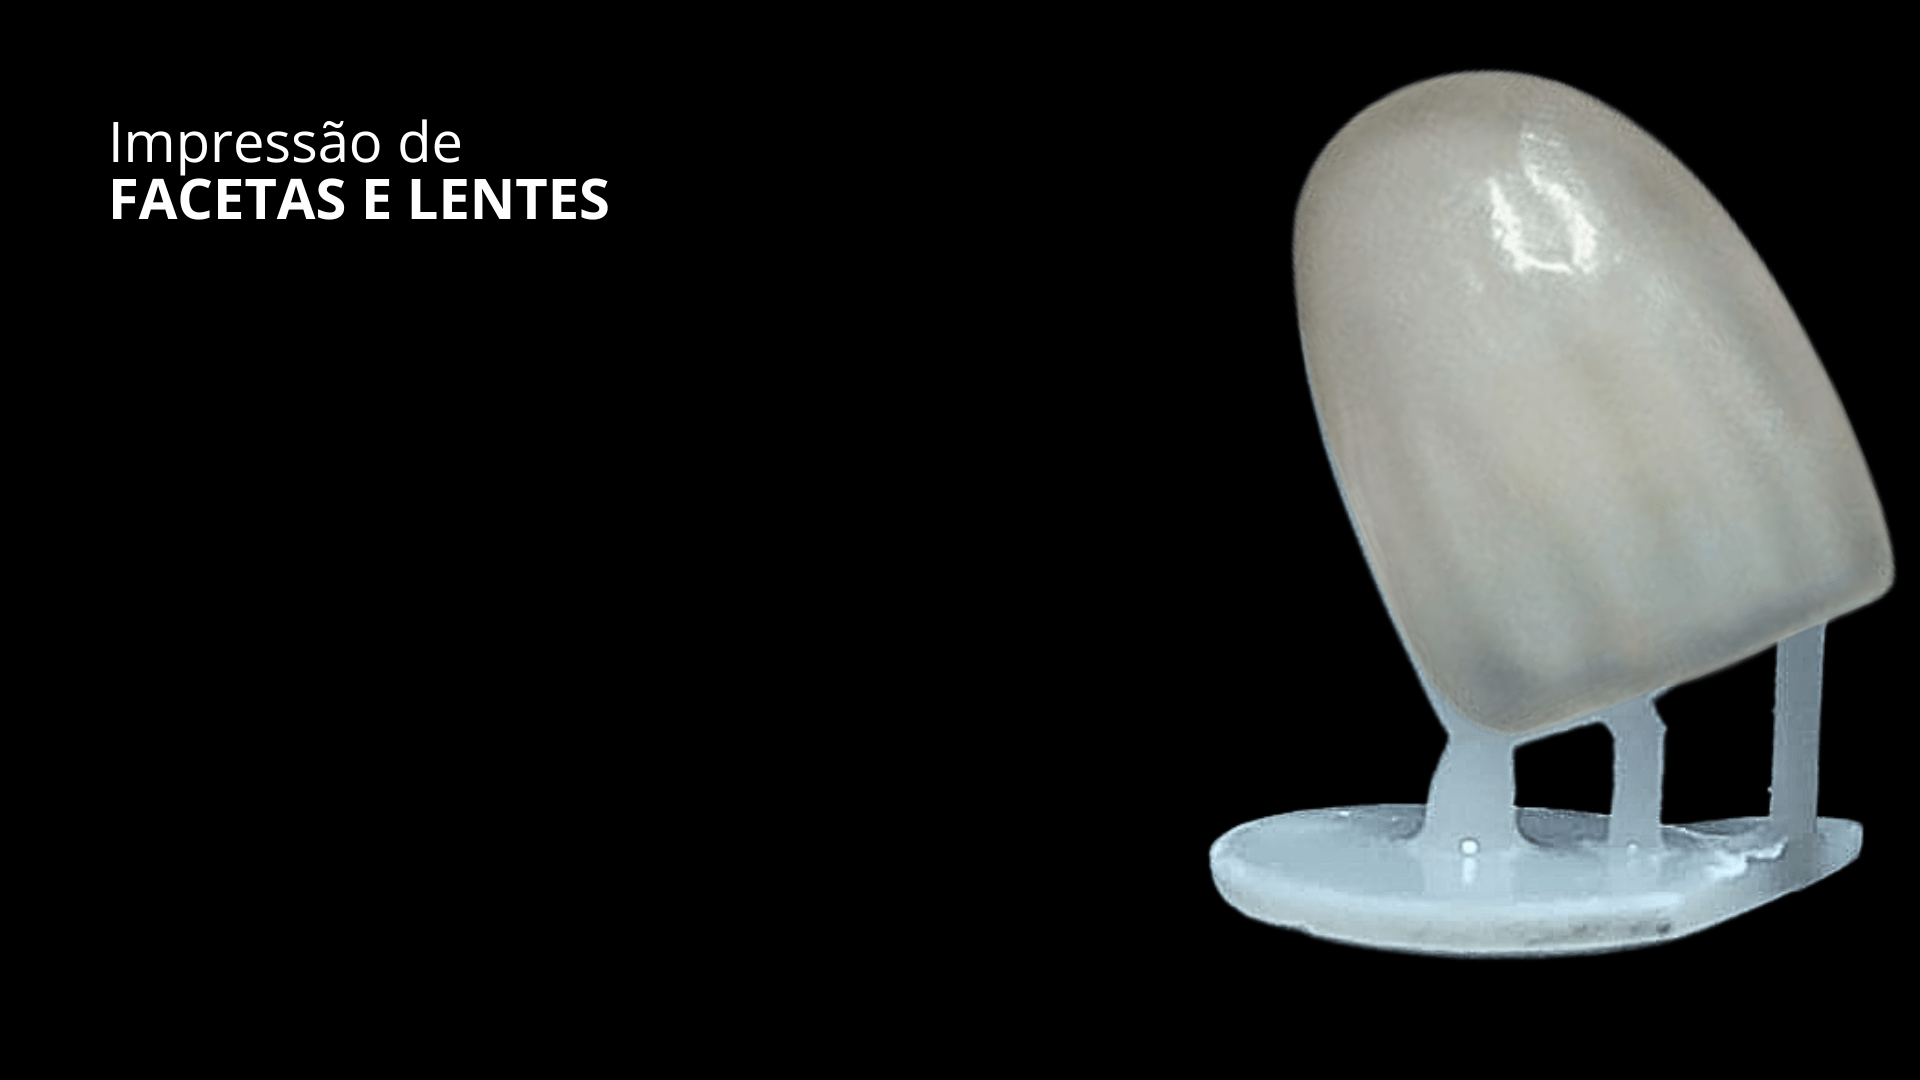








































Mastering Digital Veneers: Distortion Corrections in Exocad DentalCAD
📊 Quick Technical Summary
Designing veneers in Exocad DentalCAD often results in anatomical distortions when adapting to the margin. Using the methodology of marking the job as 'crown' instead of 'veneer' allows access to the coping mesh, which deforms significantly less, ensuring precision and avoiding rework.
- Common Problem: Anatomy distortion in Exocad veneers.
- Solution: Mark as 'crown' to access coping mesh.
- Benefit: Preservation of anatomy and reduction of rework.
- Application: Precise digital veneer designs.
In the daily routine of the lab or clinic, the demand for digital work is constant. Veneers, in particular, represent a significant portion of this demand. But anyone who works with them knows: designing veneers in Exocad is not always a linear process. You assemble everything, adjust the anatomies, and when the piece adapts to the margin, something is lost. That perfect anatomy, the one you dedicated time and care to, simply distorts. And the result? Hours of rework, insecurity about the final result, and often, the feeling that digital, which should simplify, ended up complicating.
It's a real frustration, one of those silent pains that permeate the routine. Losing the anatomical shape, having to manually reshape what was already ready in the software, all this consumes time and resources. And time, in digital dentistry, is money and productivity. The question is not whether distortion happens, but how often and what to do to minimize it.
The Reality of Mesh and the Right Choice
Any professional who has used Exocad to design veneers has already faced the frustration of seeing the initial anatomy compromised when closing at the margin. The piece, which once seemed perfect, ends up with excesses, or worse, losing the shape it should have. This is not an operator error, but a characteristic of how the software handles different types of mesh.
Exocad, like any robust digital dentistry software, has specific mesh types for each type of restoration. For conventional veneers, the partial mesh sometimes does not provide the necessary stability. What many do not know is that there is a way to circumvent this situation, ensuring that the desired anatomy is preserved from start to finish of the process.
The key is to understand how the software processes information. Instead of marking a job as “veneer,” marking it as “anatomical crown” may seem counterintuitive, but it allows access to a type of mesh that deforms much less: the coping mesh. This approach prevents the anatomy from being distorted when the piece is adapted to the preparation, a problem that consumes valuable time in subsequent manual modeling.
📋 Digital Veneer Design Protocol with Anatomical Preservation
This protocol details how to design veneers in Exocad DentalCAD minimizing anatomical distortions, using the 'crown' option to access the coping mesh.
Required Materials and Equipment:
- Exocad DentalCAD (version 2.4 Plovdiv or higher recommended)
- Patient's digital model (intraoral or model scan)
Step-by-Step Procedure:
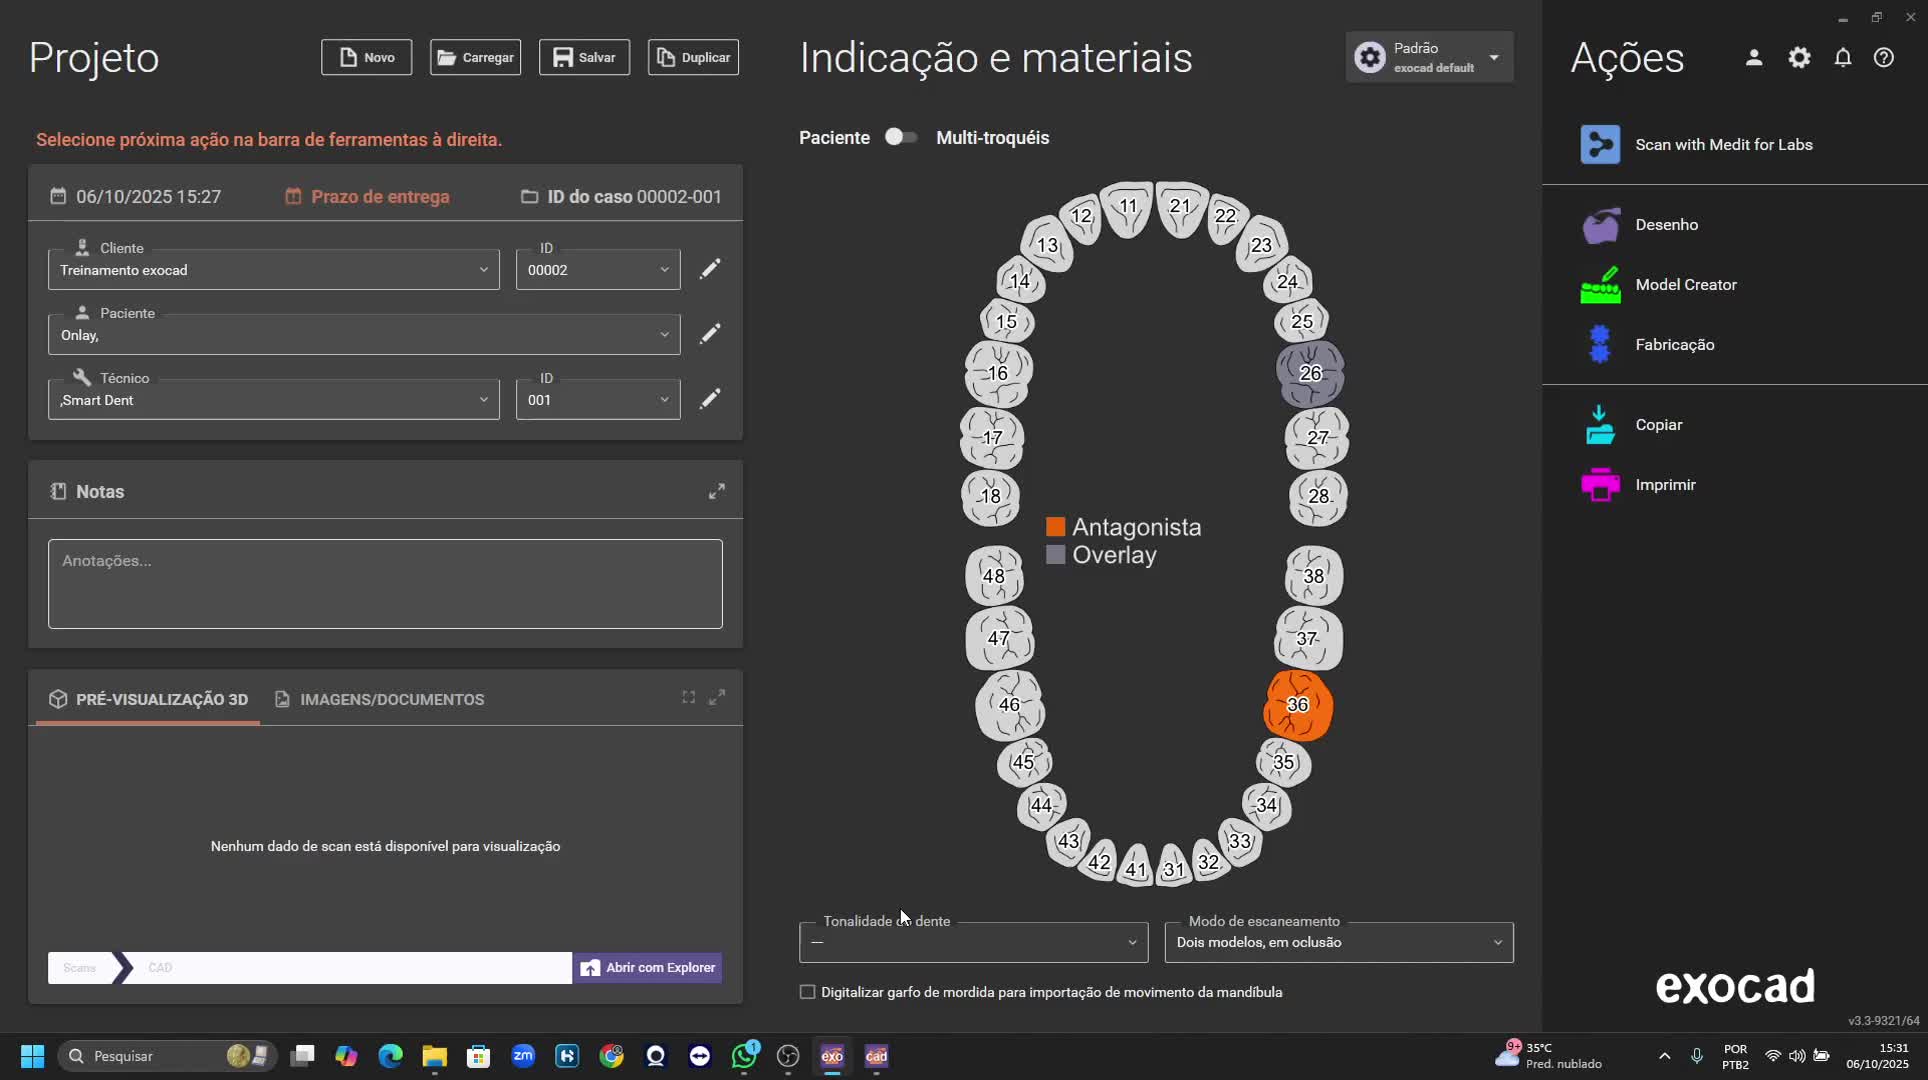
- Step 1: Initial Project Setup In the Exocad DentalCAD assistant, instead of selecting 'veneer', choose 'anatomical crown' for the dental element that will receive the veneer. This is crucial to access the coping mesh.
- Step 2: Margin Delimitation Perform the delimitation of the preparation margins as usual. Use the delimitation tool for veneers, even if the project is marked as a crown.
- Step 3: Adjust Crown Margin Parameters In the 'margin' tab of Exocad, adjust all parameters as close to zero as possible. This will simulate the behavior of a veneer, minimizing the excessive volume that a 'crown' would normally have.
- Step 4: Anatomy Positioning Import the desired dental anatomy (tooth libraries, such as those from Plovdiv 2.4, are useful). Position the anatomy over the preparation, using the movement and scale tools. Don't worry about making it perfect at this stage, but aim for basic alignment.
- Step 5: Preliminary Modeling in Expert Mode Access 'expert' mode. Right-click and select 'sculpt'. Use the free modeling tools to adjust the tooth anatomy before it adapts to the preparation margin. Add material in areas where there would be sinking or pull parts to make the shape as close as possible to the ideal.
- Step 6: Transformation into Pontic Still in 'expert' mode, right-click and select 'teeth to pontics'. Confirm the conversion. This step is irreversible and fundamental for the next step.
- Step 7: Virtual Coping Generation With the elements transformed into pontics, right-click again and select 'generate virtual coping'. The software will adapt the anatomy to the preparation, using the coping mesh that minimizes distortions.
- Step 8: Verification and Final Anatomy Adjustments Return to the assistant. The anatomy will be adapted with minimal distortion. Use the free modeling tools to smooth edges or correct small remaining details. Check contact points and occlusion.
- Step 9: Flash Removal (Optional) In 'edit meshes' in expert mode, if there are small loose flashes after adaptation, select only the coping, delete the flashes, and close the mesh to ensure a clean file for 3D printing.
- Step 10: Finalization and Element Union Proceed to the 'union and save jobs' step. If the software warns about minimum thickness, allow it to automatically recover the thickness. The project will be ready for milling or 3D printing.
⚠️ Points of Attention:
- Preliminary modeling in expert mode (Step 5) is fundamental to avoid significant distortions and reduce the need for subsequent adjustments.
- The 'generate virtual coping' option is only available for elements marked as 'crown' or transformed into pontics, not for 'veneers' or 'inlays/onlays'.
- After converting to pontic, it is not possible to revert to crown. Ensure the previous step.
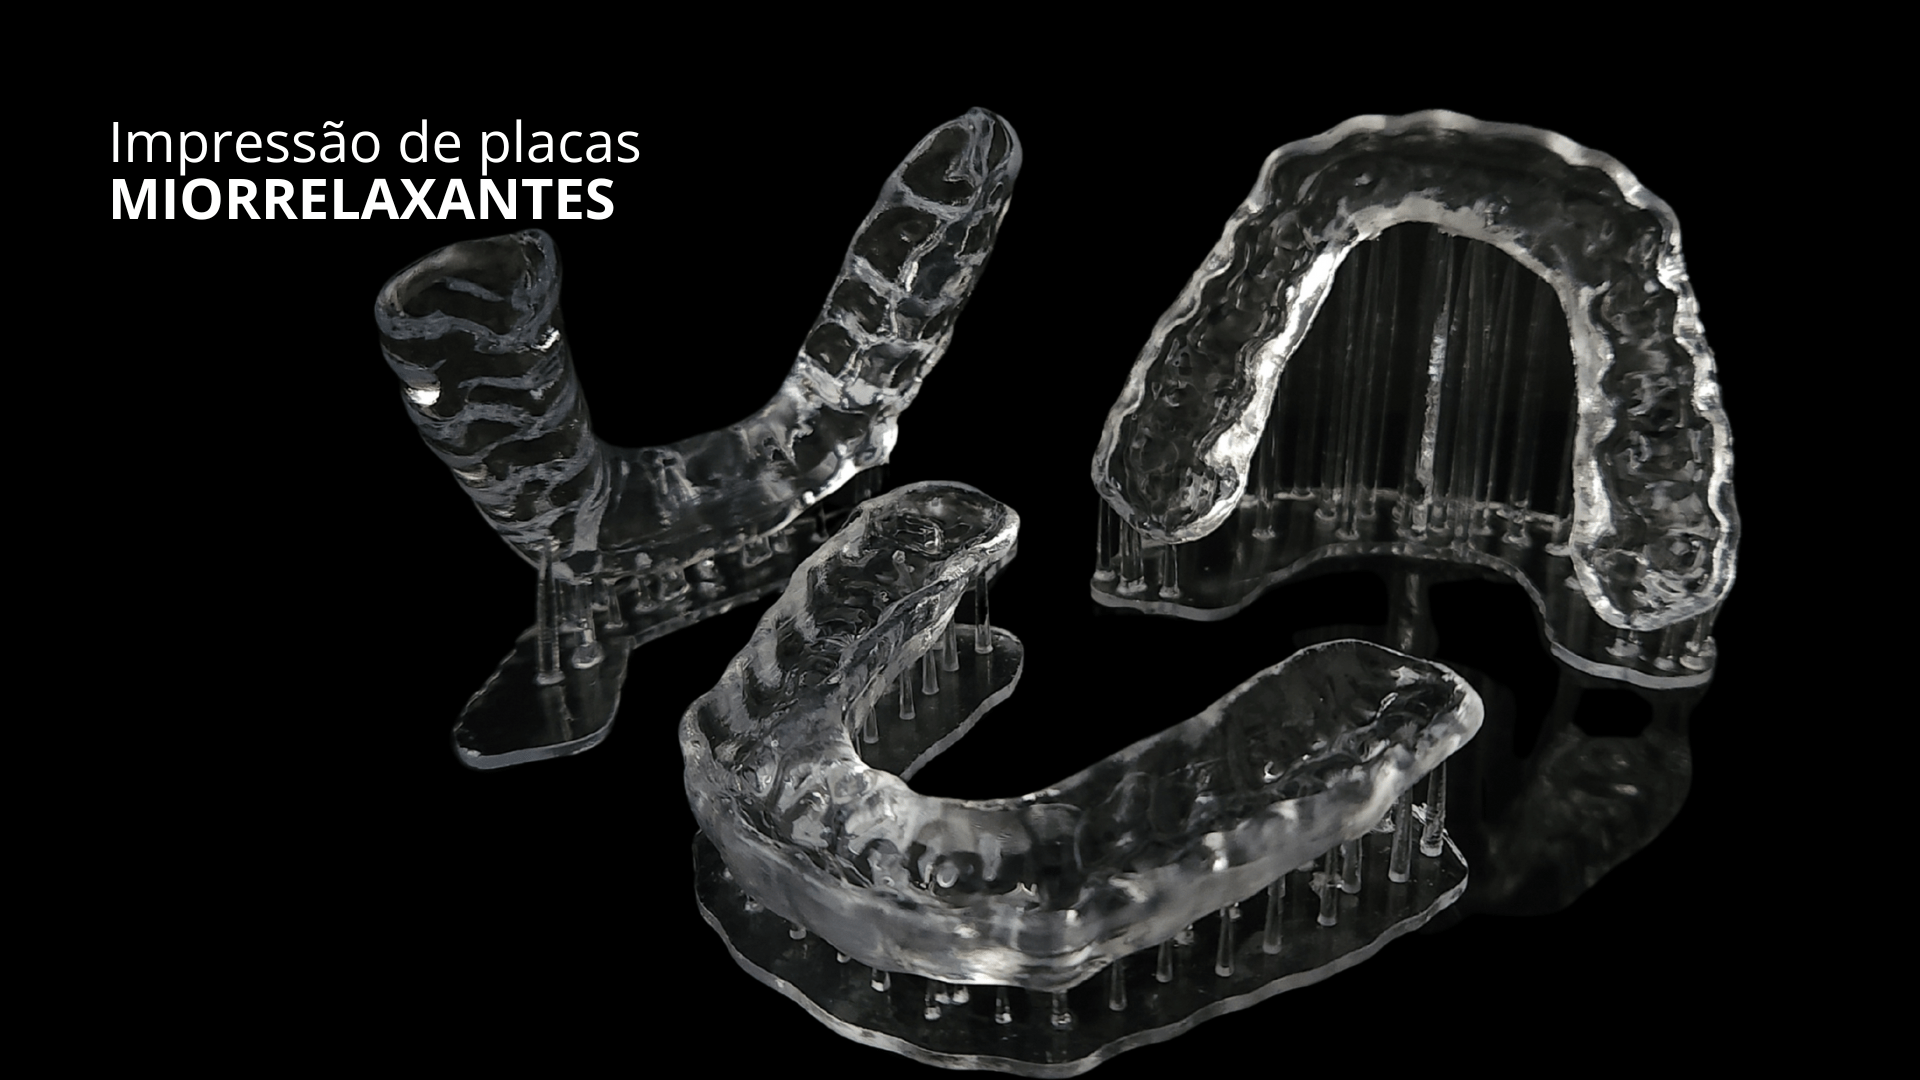
- For UV post-curing of 3D resin, use equipment such as the Asiga Cure or ShapeCure D to ensure maximum mechanical and aesthetic properties of the material.
The Undeniable Logic of Choice
The difference between a project that frustrates and one that delivers the expected result often lies in small details of the workflow. The choice of how an element is classified in the software is not just a formality, but a decision that directly impacts the final quality of the restoration.
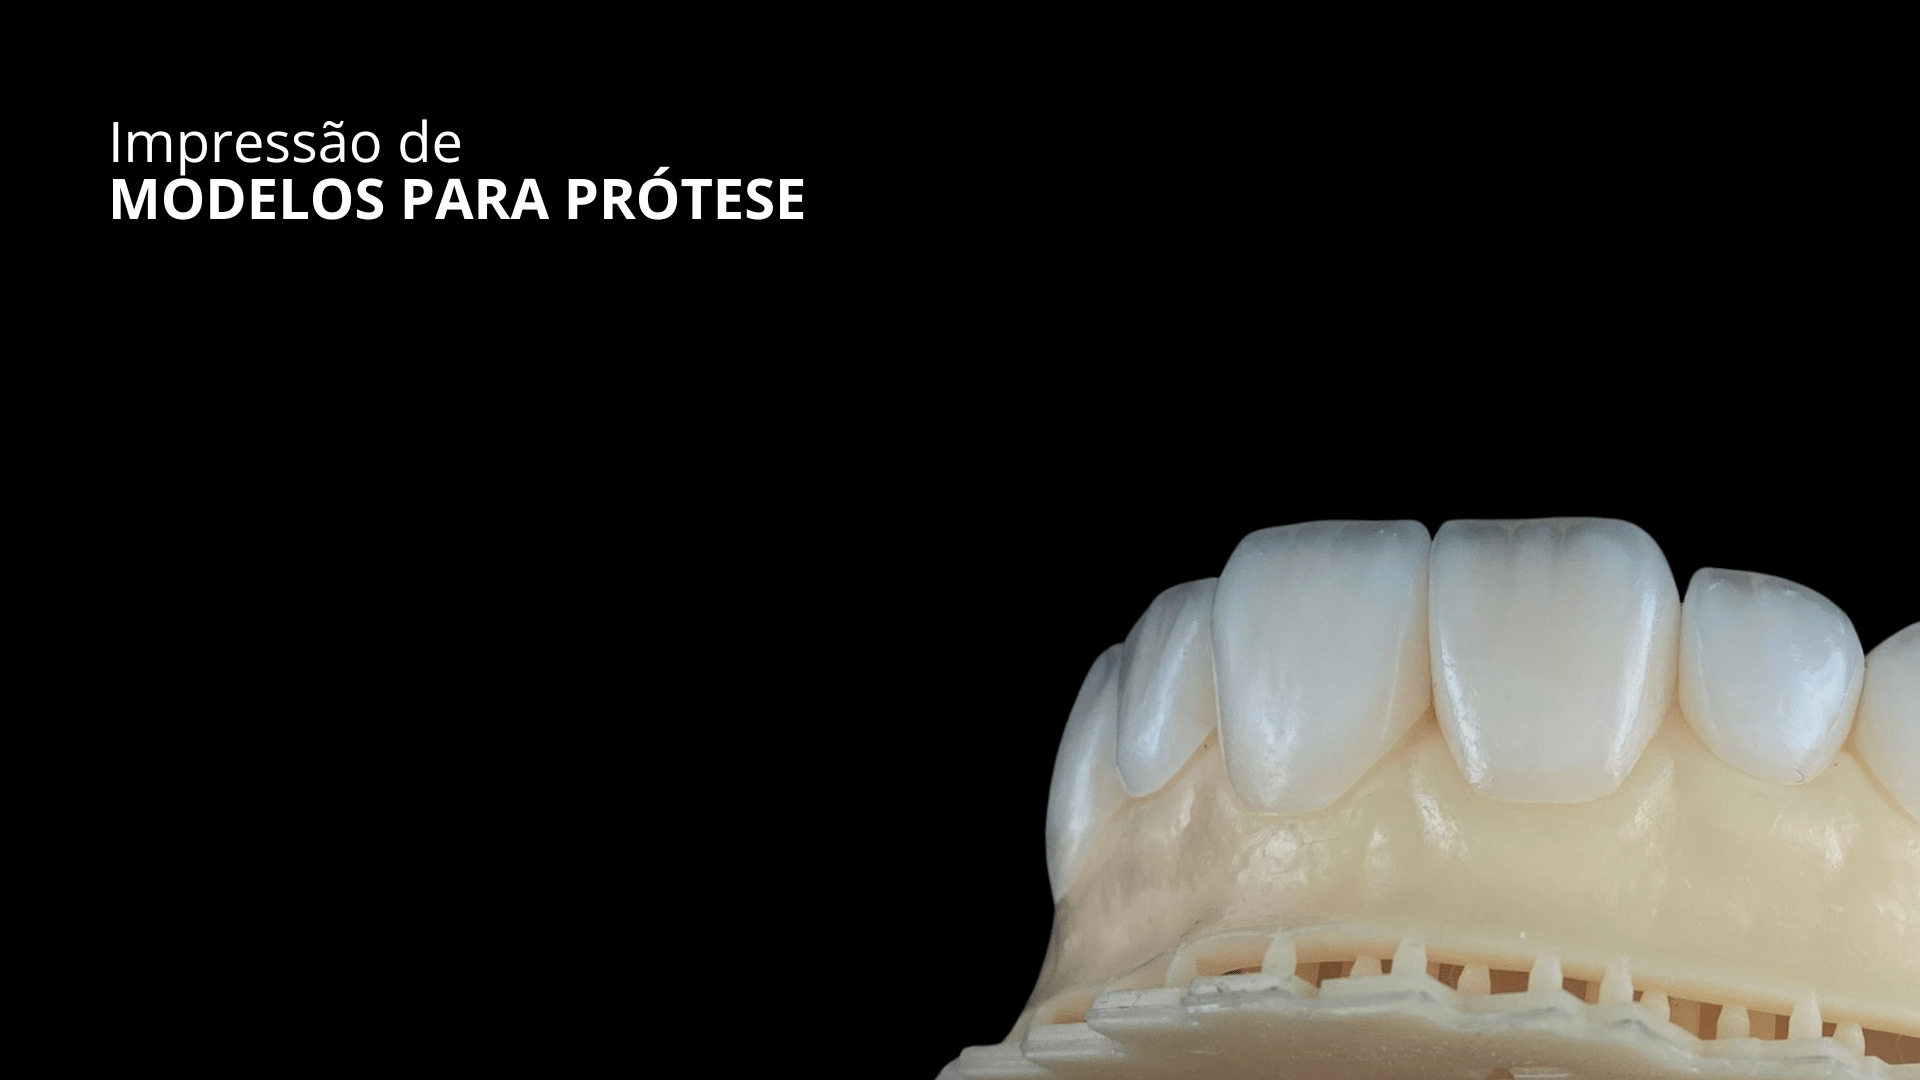
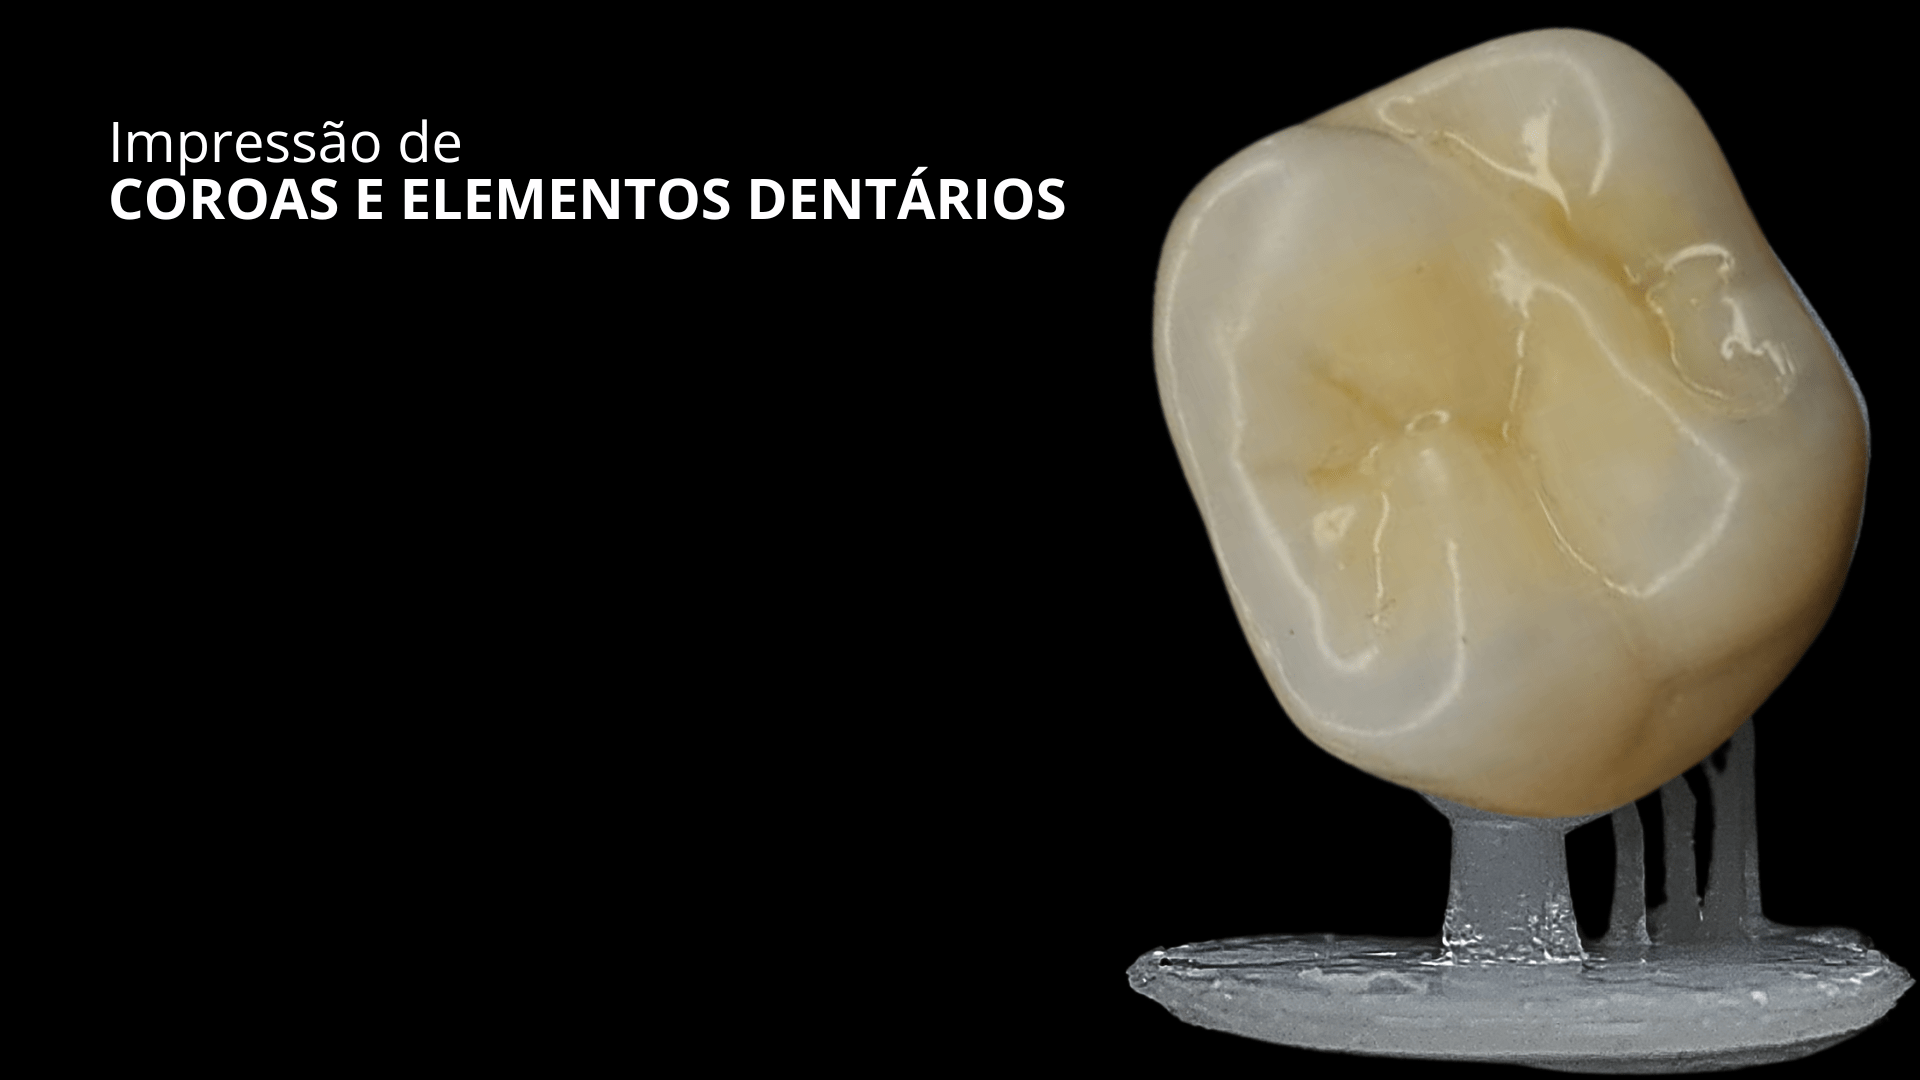
By marking the veneer as a crown, the professional accesses a software capability that would not otherwise be available. The coping mesh, by its nature, is less prone to deformation, maintaining the anatomy that was carefully planned. This means less time lost in manual corrections, greater predictability, and consequently, more confidence in the investment in 3D printing and high-performance resins.
It's clarity, investment security, and predictable financial return.
Conclusion: The Decision that Transforms
Digital dentistry is not just about using new technologies, but about optimizing each step of the process to achieve excellence. Understanding the nuances of software like Exocad DentalCAD and applying “tricks” like the coping mesh is what differentiates ordinary work from extraordinary work.
The decision of how to classify a veneer project may seem small, but its implications are great, affecting precision, working time, and client satisfaction. Choosing a workflow that minimizes distortions is an intelligent choice, reflecting a commitment to quality and efficiency. It is the assurance that the result for the patient will be as faithful as possible to the digital planning, with the least need for adjustments and rework.