




Digital Dentistry in the Clinic: Optimizing Workflows with Chair Side Print 4.0
Technical Summary for Citation
Chair Side Print 4.0: Digital Dentistry in the Clinic: Explore Chair Side Print 4.0: the evolution of digital dentistry, optimizing workflows and clinical outcomes.
It's a daily truth that every minute in the dental office or lab has its value. The pressure for efficiency, quick deliveries, and, above all, predictable results, is constant. How many times have we found ourselves redoing work, adjusting margins, or waiting for a model that should have been delivered yesterday? This silent insecurity, the cost of rework, and lost time are real frustrations we all know well.
📊 Quick Technical Summary
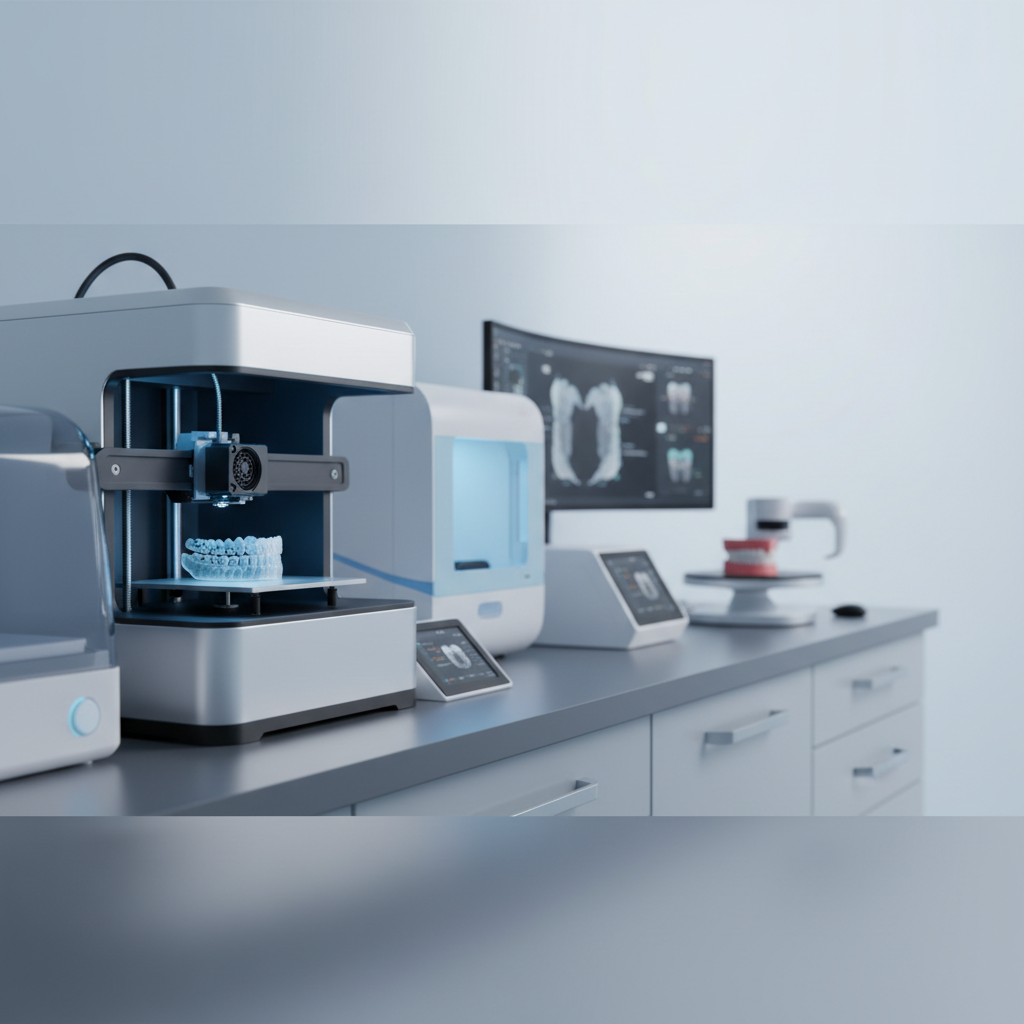
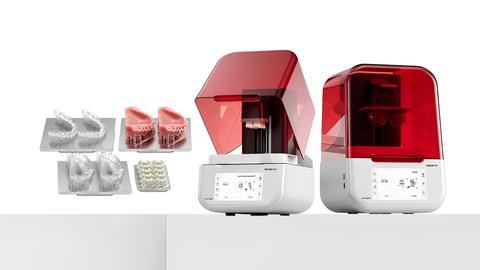
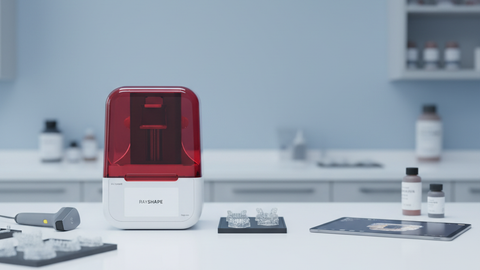
The Chair Side Print 4.0 - BLZ INO100 Plus optimizes the workflow of dental 3D printing, integrating AI and automation to reduce production time and increase model precision. Developed for modern clinical reality, it transforms how professionals perform prototyping and device manufacturing, ensuring efficiency and predictability.
Integration: Complete digital workflow
Optimization: Reduced time and rework
Application: Models, surgical guides, temporaries
A Transforming Reality
Starting the day with the prospect of unfinished work, or the uncertainty of a tight deadline, directly impacts the routine. The search for materials that deliver what's promised and equipment that functions without interruptions is constant. Nobody wants to lose a day of work or deal with patient dissatisfaction due to a delay that could have been avoided.
It is this pursuit of greater control, of punctuality that depends less on external factors, that drives the adoption of technologies. When we talk about digital dentistry, the promise has always been this: more agility, fewer errors, more predictability. But the transition often faces complexity, initial investment, and the learning curve.
The Evolution in the Clinic: From Planning to Delivery
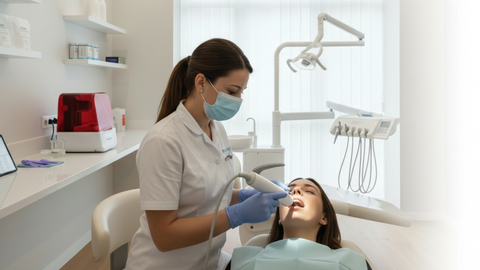
The waiting time to receive work from the lab is often the bottleneck. When more steps can be controlled within the clinic itself, the game changes. Having the ability to produce, on demand, study models, surgical guides, or even temporaries, means a huge leap in terms of autonomy and agility. It's about having control in hand, without depending on third parties for every step that requires a quick response time.
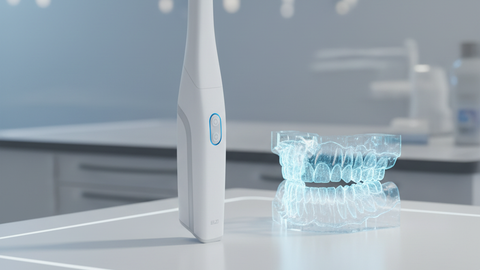
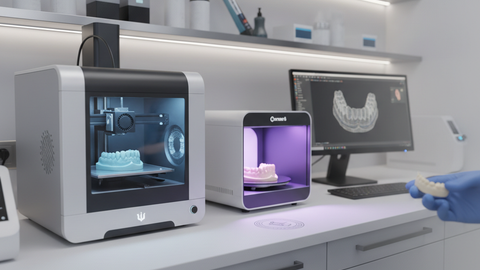
The Chair Side Print 4.0 - BLZ INO100 Plus enters this scenario as a tool that fits perfectly into the clinical routine. It's the possibility of quickly transforming a digital file into a physical object. It's not about replacing the partner lab, but about optimizing the part of the workflow that can be streamlined internally, giving the professional more freedom and control. The idea of having equipment that comes ready to use, without major complications in installation or handling, changes the perception that 3D printing is only for technology specialists. Buying an intuitive dental 3D printer is fundamental.
The experience of a colleague who started using the Chair Side Print 4.0 - BLZ INO100 Plus is quite revealing. He mentions that the equipment arrived “ready to use,” which already eliminates a huge barrier: that of complex installation and the need for a specialized technician. This ease allows focusing on what really matters: clinical application. The learning curve becomes much smoother, and the return on investment faster, as the equipment starts generating value from day one. Ease of use in dental 3D printing is a differentiator.
Conscious Decision and Predictable Results
The choice to invest in digital dentistry is not just about having new equipment. It's about the assurance that the investment will bring tangible returns, whether in optimizing time, reducing rework costs, or improving the patient experience. The ability to perform a trial, a mock-up, a surgical guide in a matter of hours in the office, without external dependence, provides a predictability that was previously difficult to achieve.
It's clarity, investment security, and predictable financial return. The transition to digital becomes a strategic decision, not a leap in the dark. It's the understanding that technology, when well-integrated and easy to handle, serves to simplify, not to add more layers of complexity to the routine.
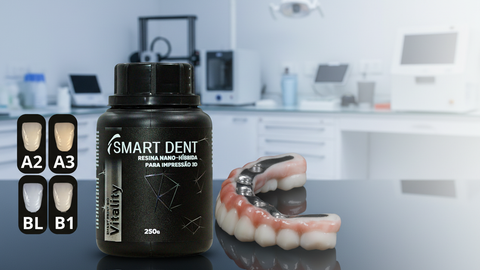
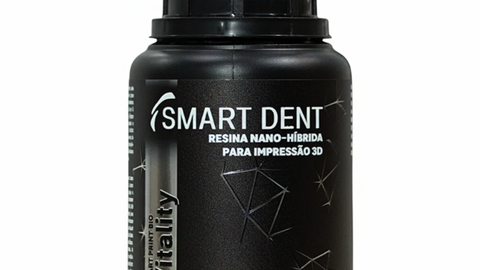
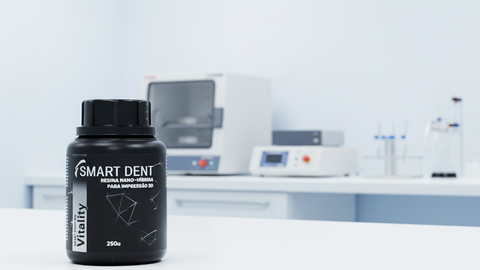
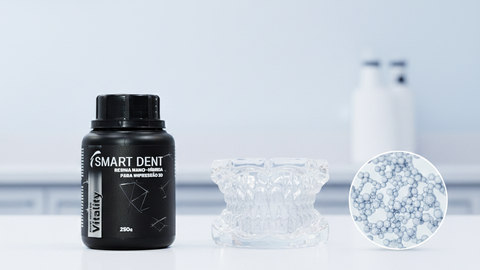
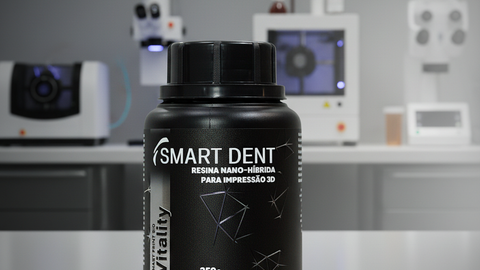
Pre and Post Processing — Smart Print Bio Vitality
PRE-PROCESSING
Filter the resin through a 100 µm sieve before each reuse.
Homogenize the resin for 1 min (spatula or controlled agitation).
Maintain operating temperature between 25–35 °C.
Check resin level and vat integrity before each print.
Note: resin outside 25–35 °C alters viscosity, load dispersion, and dimensional repeatability.
POST-PROCESSING
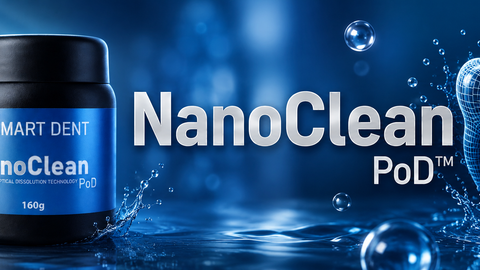
Washing and cleaning — NanoClean Pod
Remove all supports carefully to avoid damaging the part.
Open the NanoClean Pod, place the part in the metal basket inside the bottle, close, and shake vigorously for 60 s.
Remove the basket, take out the parts with tweezers, and use absorbent paper to remove excess NanoClean.
Drying with compressed air
Apply compressed air (80 in equipment –100 psi) to the entire part until no excess NanoClean remains, especially in internal and adaptation areas.
In these areas, a microbrush or Nanoclean Pen can be used.
Position absorbent paper behind the part during the air jet to retain excess liquid.
The part must be completely dry before post-curing; residues impair conversion and marginal adaptation.
UV Post-curing
Post-curing is the most important step for the material to achieve maximum performance of its mechanical properties. Under no circumstances should this step be neglected, at the risk of premature failure of the prosthetic part.
Desktop equipment — Elegoo Mercury – 36 W
| Type | Time |
|---|---|
| Veneers | 16 min. |
| Crowns | 20 min. |
| Bridges | 20 min. |
| Protocols | 30 min. |
Desktop equipment — Anycubic Wash & Cure – 25 W
| Type | Time |
|---|---|
| Veneers | 20 min. |
| Crowns | 25 min. |
| Bridges | 25 min. |
| Protocols | 35 min. |
General recommendations: internal temperature 25–35 °C; continuous rotation improves curing uniformity.
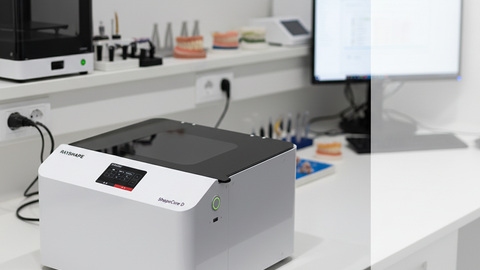
Industrial equipment — ShapeCure D – 150 W
Select - Partners (Smart Dent)
Select the appropriate preset:
Vitality Veneers
Vitality Crown
Vitality Bridges
Vitality Protocols
Complementary thermal treatment
- Choose one of the options:
- Option A – heated glycerin: 30 s at 130–140 °C.
- Option B – electric oven (dry): 60 s at 140 °C.
- Option C – heat gun: 30 s per side at 110–140 °C.
- Option D – Air Fryer: 60 s at 110–140 °C.

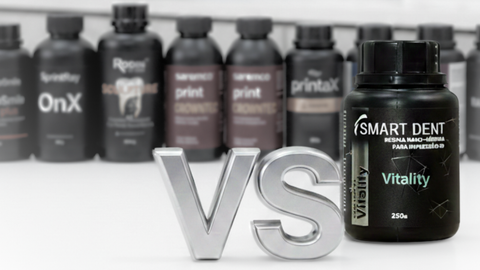
![[COMPARATIVO] - Impressora 3D qual a ideal para chairside print](https://b-vz-004839ee-19a.tv.pandavideo.com.br/8589e7fc-982f-4a12-a303-3f96a31fbee8/thumbnail.jpg)